Home Blog Page 926

How To Get Keys In CSGO Without Spending A Dime

The world of Counter-Strike: Global Offensive (CSGO) is vast and exciting, with a thriving community centered around the game’s unique feature – skins. One of the most thrilling aspects of this community is the case openings, a virtual treasure hunt that offers the chance to acquire ultra-rare skins that may not even be available in the Steam Community Market. However, to embark on this adventure, gamers need a special tool – CSGO keys. This article will guide you through the process of obtaining these keys, ensuring you’re well-equipped for your CSGO journey.

What Are CSGO Keys?

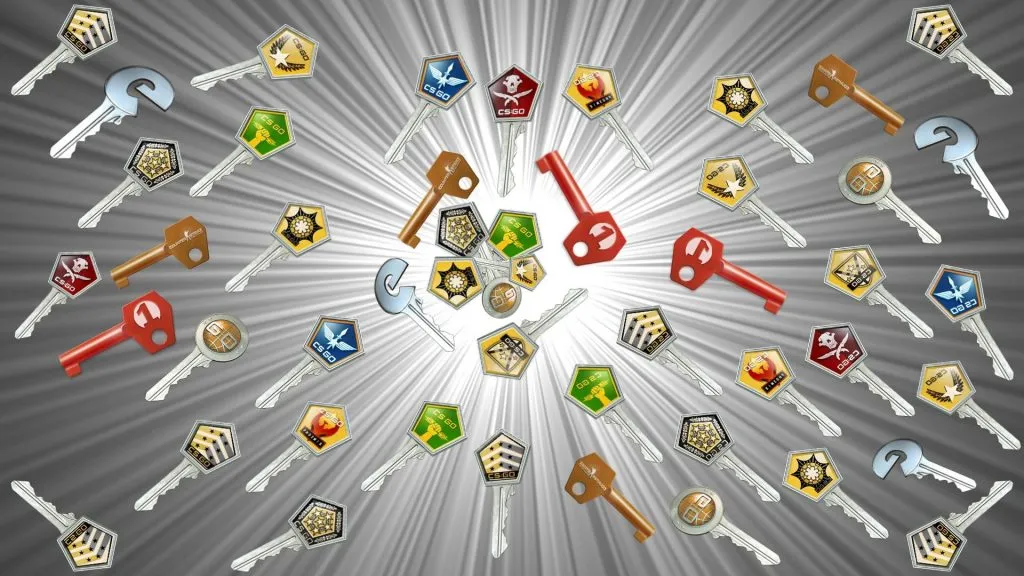
  • CSGO keys are virtual items that unlock the treasure chests of the game, the CSGO cases. These keys have become highly sought after due to their ability to reveal rare and unique skins. However, it’s important to note that there are no free CSGO keys. Any platform claiming to offer them is likely a scam. So, how do you get these keys? Let’s delve into the various methods.

In an effort to combat fraudulent activities, Valve, the developer of CSGO, imposed a trade ban on CSGO keys. This ban only applies to keys purchased directly from Valve after the ban was implemented. Keys bought before the ban are still tradable, making them a scarce and collectible item.

How To Get Keys For CSGO

  • If your primary interest is opening CSGO cases, the best place to get keys is directly from Valve or the in-game CSGO store. These keys are not tradable but serve their purpose in unlocking the cases.

The Steam Community Market is a popular destination for purchasing in-game items for CSGO, including tradable keys. However, it’s more cost-effective to use these keys for trading rather than opening cases, as keys from Valve are cheaper.

Third-party trading platforms offer another avenue to acquire tradable CSGO keys. These platforms allow you to trade unwanted skins for keys, provided they have tradable keys in their inventory. It’s crucial to ensure the platform is trustworthy to avoid falling victim to scams.

The trade ban on CSGO keys has shifted the dynamics of key trading, with most people now buying keys solely for opening cases. Whether you’re looking to trade or open cases, always ensure you’re using a reliable platform. Remember, the world of CSGO is thrilling, but it’s essential to navigate it with caution.
How To Play OG Fortnite In 2023

0

In the ever-evolving world of Fortnite, nostalgia has found its place through Project Nova. This innovative third-party mod has taken the gaming community by storm, offering players the chance to relive the golden era of Fortnite on the original Chapter 1 map. This article will guide you through the process of using Project Nova to play OG Fortnite in 2023.

The Renaissance of Fortnite’s Golden Age

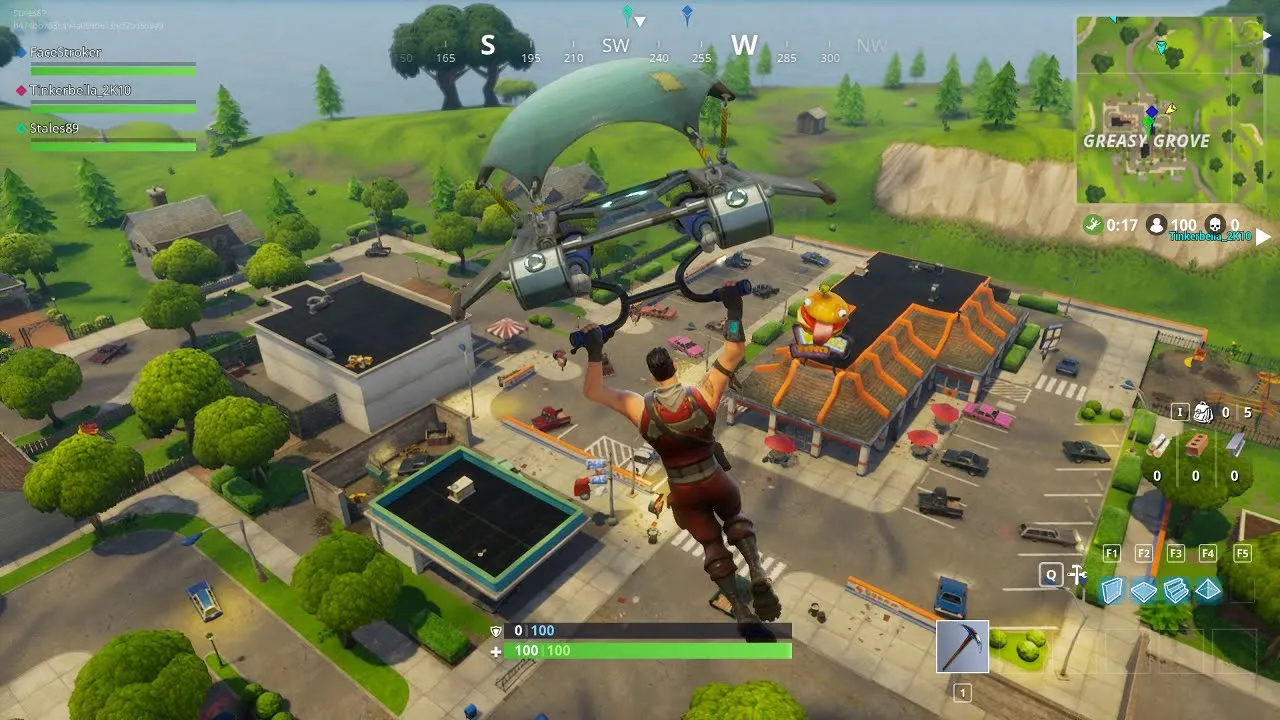
Project Nova is more than just a mod; it’s a time machine that transports players back to the early days of Fortnite. Remember the thrill of landing at Greasy Grove or Retail Row? The excitement of finding OG weapons? The pride of equipping classic skins like the Renegade Raider? Project Nova brings all these experiences back to life.

What Is Fortnite Project Nova?

Project Nova is a third-party modification that allows players to experience Fortnite as it was in its early days. Based on the footage, the default settings are set to Chapter 1’s Season X, but players have the flexibility to choose from various options from Chapter 1. As a private multiplayer server with old assets, Project Nova offers a unique opportunity to relive the Fortnite Chapter 1 nostalgia in 2023.

How to Play Fortnite OG In 2023 with Project Nova

Getting started with Project Nova is a straightforward process. The developer has created an easy-to-follow tutorial video, guiding players through the steps to download and play OG Fortnite with Project Nova.

The process involves joining the Nova Discord server, creating a Nova account, installing the NovaLauncher and OG Fortnite, and following specific steps to launch the game. Once you’ve set up Project Nova, all you need to do is join a match. The Nova Discord server provides a support channel and a ticket system for any assistance you may need.

Project Nova is a testament to the enduring appeal of Fortnite’s early days. It offers a unique opportunity to relive the excitement and nostalgia of the original Chapter 1 map. So why wait? Join the Nova Discord server, set up Project Nova, and embark on a journey back to Fortnite’s golden age.

Stay updated with the latest news in gaming and esports by signing up for early access to TalkEsport’s Mobile App. Follow us on Twitter and Google News to ensure you never miss the exciting updates.

How To Get Free CP In COD Mobile?

0

As the popularity of COD Mobile continues to skyrocket, players are constantly on the hunt for ways to enhance their gaming experience. One such way is through the acquisition of COD Points (CP), the in-game currency that unlocks a world of possibilities. From battle passes to weapon skins, CP is the key to a richer, more immersive COD Mobile experience. But what if you could unlock these benefits without spending a dime? In this guide, we’ll explore the top strategies for earning free CP in COD Mobile.

The Best Ways to Get Free CP in COD Mobile (2023)

The Battle Pass Strategy

One of the most straightforward ways to earn free CP is by completing Battle Pass missions. The Battle Pass system in COD Mobile rewards you with points as you complete various missions. With the free Battle Pass, you can earn up to 400 CP, while the full Battle Pass and bonus sector missions can net you a whopping 1,000 points.

The Power of Giveaways

Many gaming communities, influencers, and social media platforms host giveaways that offer CP as prizes. Participating in these events can be a fun and exciting way to earn free CP. Remember, though, that winning is often a matter of luck, so don’t be discouraged if you don’t strike gold immediately.

Google Opinion Rewards: Your Opinion Matters

Google Opinion Rewards is a legitimate app that rewards users with real cash for completing surveys. The cash you earn can be used to purchase CP in COD Mobile. While the process may be slow, it’s a reliable and trusted way to earn free CP.

Get-Paid-To (GPT) Websites and Apps

GPT websites and apps like Swagbucks, PollPay, and Prize Rebel reward users for completing various tasks such as answering surveys, watching videos, and downloading apps. Once you’ve accumulated enough points, you can redeem them for Google Play gift cards, which can then be used to purchase CP in COD Mobile.

The Buff Gaming Approach

Buff Gaming is a platform that rewards you for playing popular PC games, including COD Warzone. While you can’t earn CP directly, you can redeem your points for Xbox or PlayStation gift cards, which can then be used to purchase CP.

The Mountain Dew Method

If you’re a fan of Mountain Dew, you’re in luck. Specially marked packages of Mountain Dew offer COD points and XP boosts. Just enter the product code from the packaging on Mountain Dew’s website and connect your Activision Account to get your points.

The Microsoft Rewards Program

Microsoft Rewards is a free program that rewards you for your daily computer activities and even for playing games on Xbox. You can redeem points for Xbox gift cards, which can then be used to get free CP.

While there are numerous ways to earn free CP in COD Mobile, it’s important to remember that not all methods are created equal. Some require more time and effort than others, and the rewards can vary. However, with a little patience and persistence, you can accumulate a substantial amount of free CP, enhancing your COD Mobile experience without breaking the bank.

Remember, the journey to earning free CP is a marathon, not a sprint. So, gear up, dive in, and start earning today!

Stay updated with the latest news in gaming and esports by signing up for early access to TalkEsport’s Mobile App. Follow us on Twitter and Google News to ensure you never miss the exciting updates.

How To Refund Valorant Skins In 2023?

0

Valorant, the renowned first-person shooter game, has captivated players worldwide with its immersive gameplay and extensive range of cosmetic items. Among these, weapon skins have become a popular choice for players seeking to personalize their gaming experience. However, there may be instances where a player might reconsider their purchase and seek a refund.

This article provides a detailed guide on how to refund Valorant skins and an overview of the game’s refund policy.

How to Refund Skins in Valorant?

Valorant offers a straightforward process for players who wish to refund their purchased skins. Here’s a step-by-step guide:

  • Visit the official Valorant Support Refund website.
  • Click on the ‘LOG IN’ button and sign in using your Valorant Account credentials.
  • Scroll down and select the ‘GET MY ORDER HISTORY’ option.
  • All of the valuable content that qualifies for a refund will be shown here. In order to seek a refund, use the “REFUND” button next to the item you want to return.

Valorant’s refund policy is specific about the items that can be refunded. Only unused in-game content and unused Valorant Points (VP) purchased within the last 14 days are eligible for a refund. The policy defines ‘used’ as any content that has been taken into a game, i.e., you’ve reached the loading screen of a match in any mode with that content equipped.

Here are the items that are not eligible for a refund:

  • Used Weapon Skins
  • Upgraded Weapon Skins
  • Used In-Game Content (Gun Buddies, Player Cards, etc.)
  • Character Contract Levels
  • Weapon Skin Levels
  • Weapon Skin Bundles
  • Premium Battle Passes
  • Premium Battle Pass Levels
  • Radianite Points

Stay updated with the latest news in gaming and esports by signing up for early access to TalkEsport’s Mobile App. Follow us on Twitter and Google News to ensure you never miss the exciting updates.

How to Sell CSGO Skins for Real Money?

0

Steam is not kind enough to let you sell your skins for real money which begs the question, can you sell your skins for real money that reflects on your bank account? Yes, there are ways, but it involves going outside the bounds of Stream and selling your skins on 3rd party websites that let you take the money directly into the bank account.

While there are a plethora of third-party sites to sell your skins, according to Steam it isn’t legal to sell through them which is why we will refrain from suggesting you go down that route. In the event of Steam finding out, they reserve the right to suspend your account which means you will lose your account and all the skins that it houses.

To sell CSGO skins for real money, you can follow these general steps:

  • Choose a Marketplace: There are several online marketplaces where you can sell your CSGO skins. Some popular platforms include Steam Community Market, Bitskins, SkinCashier, and OPSkins. Research and compare these platforms to find the one that suits your needs best.
  • Create an Account: Sign up and create an account on your chosen marketplace. Follow the registration process, which usually requires providing some personal information and verifying your identity.
  • List Your Skins: Once your account is set up, you can list your CSGO skins for sale. Provide accurate information about the skins, including their condition, wear, and any unique qualities. You’ll also need to set a price for each skin.
  • Wait for Buyers: Potential buyers will browse the marketplace and find your listed skins. They can then make offers or purchase the skins directly if you’ve set a fixed price. Be patient and allow time for interested buyers to contact you.
  • Negotiate and Finalize the Sale: If a buyer makes an offer, you can negotiate the price or other terms of the sale. Once both parties agree on the terms, finalize the transaction by confirming the sale on the marketplace platform.
  • Transfer the Skins: Depending on the marketplace, you may need to transfer the skins to the buyer manually. Some platforms provide an escrow service to ensure secure transactions. Follow the instructions provided by the marketplace to complete the transfer.
  • Receive Payment: After the buyer receives the skins, you should receive your payment. The method of payment will vary depending on the marketplace you used. Common payment options include PayPal, Skrill, or cryptocurrency. Follow the instructions provided by the marketplace to receive your funds.
  • Withdraw or Use the Funds: Once you have received the payment, you can choose to withdraw the funds to your bank account, PayPal, or other preferred payment method. Alternatively, you can use the funds within the marketplace to purchase other items or skins.

Stay updated with the latest news in gaming and esports by signing up for early access to TalkEsport’s Mobile App. Follow us on Twitter and Google News to ensure you never miss the exciting updates.

How to Improve Mouse Performance in VALORANT with Raw Input Buffer

0

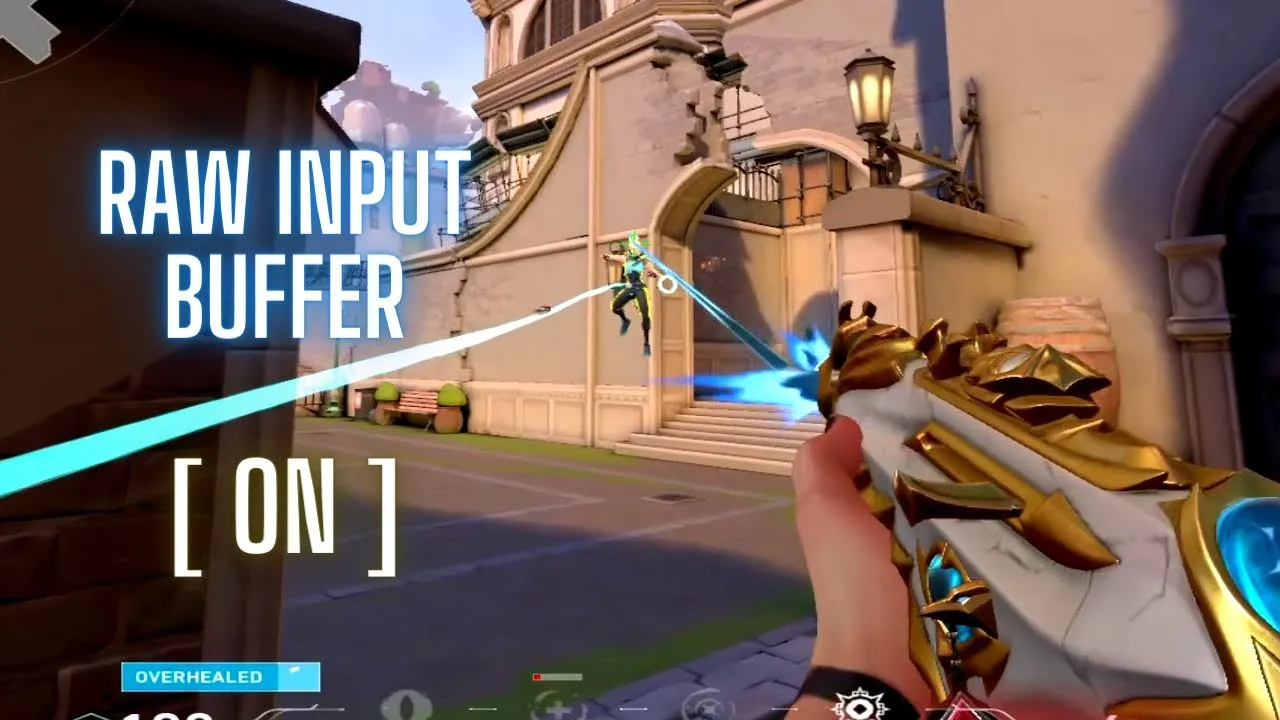
Welcome to the ultimate guide on Valorant’s raw input buffer! This feature is a game-changer, whether you’re a seasoned player or just starting your journey in the world of Valorant. By understanding and utilizing the raw input buffer, you can significantly enhance your gaming performance.

What is Valorant’s Raw Input Buffer?

The raw input buffer in Valorant is a feature that allows for unfiltered input from your mouse and keyboard. It bypasses any potential modifications or enhancements applied by your operating system or other software that might interfere with your gameplay. By enabling the raw input buffer, your commands are transformed into in-game actions with minimal delay, resulting in a more precise and responsive gaming experience.

Activating the Raw Input Buffer in Valorant

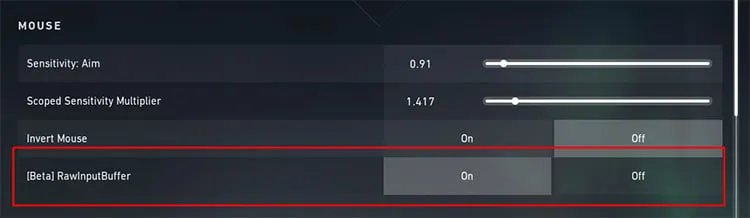
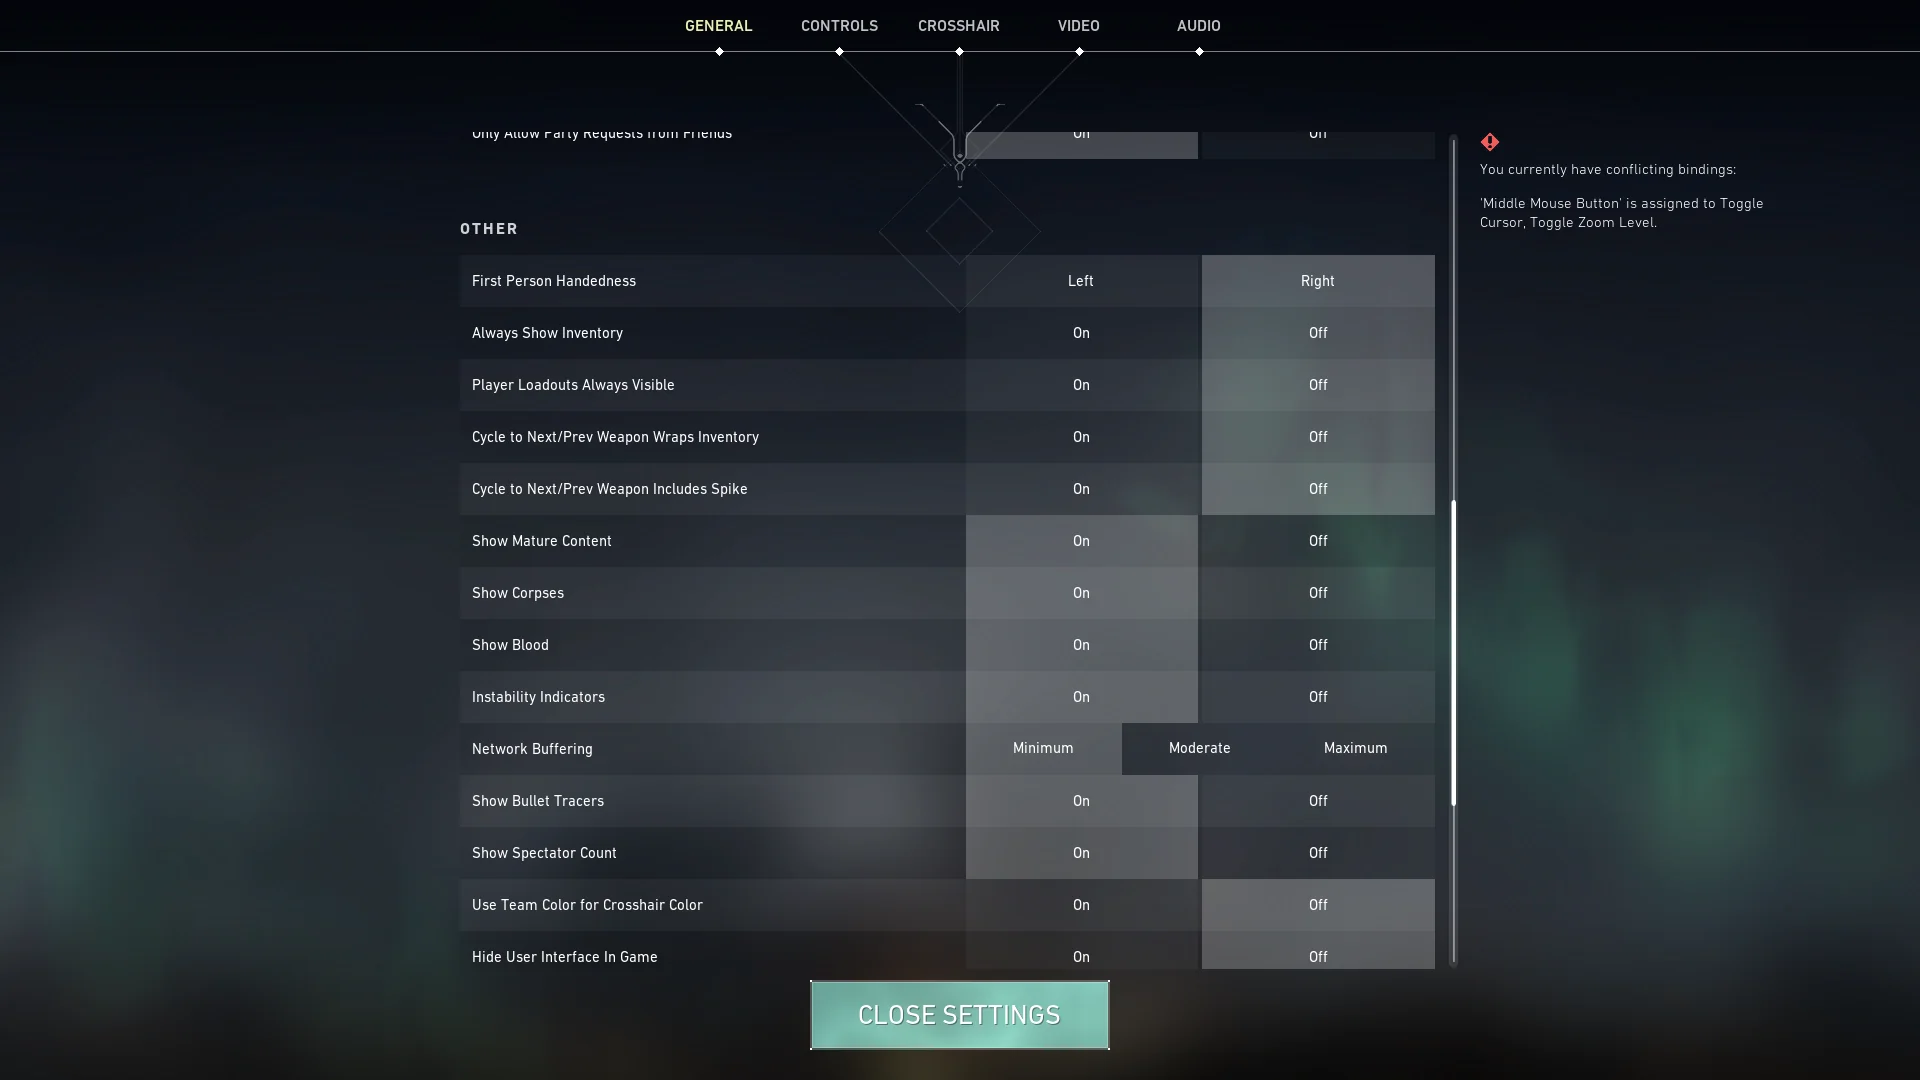
Enabling the raw input buffer in Valorant is a simple process. Here’s a step-by-step guide:

  1. Open the Valorant game client on your computer.
  2. Click on the gear icon in the top-right corner of the main menu to access the settings.
  3. Within the settings menu, select the “General” tab.
  4. Scroll down to the “Mouse” section and toggle the “Raw Input” option to the “On” position.
  5. Don’t forget to click the “Apply” or “Save” button to apply the changes and ensure the Valorant raw input buffer is enabled.

By following these steps, you’ll pave the way for a more responsive and accurate gaming experience.

The Impact of the Raw Input Buffer in Valorant

Enabling the raw input buffer in Valorant brings forth a multitude of benefits that can greatly enhance your gameplay. Here’s a detailed look at these advantages:

Increased Responsiveness

The Valorant raw input buffer ensures that your commands are directly translated into actions without any additional processing or modifications. This direct input mechanism significantly reduces input delay, resulting in a highly responsive gameplay experience. With every mouse movement and keypress instantly and accurately reflected on the screen, you can aim precisely, react quickly, and control characters with ease.

Enhanced Precision and Accuracy

Precision is crucial in a competitive game like Valorant. By turning on the raw input buffer, you can remove any potential interference or smoothing brought on by external software or operating system settings. This clean input offers unmatched precision and accuracy, allowing your mouse movements and keystrokes to be accurately replicated in-game. Whether you’re setting up a crucial headshot or performing complex moves, the Valorant raw input buffer gives you the ability to perform with the highest precision.

Consistency across Systems

The raw input buffer can help maintain consistency in your gameplay when playing Valorant across different computers or setups. As the raw input bypasses any system-specific alterations, your muscle memory and gameplay mechanics remain unaffected, regardless of the system you’re playing on. This ensures a seamless transition between different gaming environments, allowing you to maintain your skill level and performance consistently.

Minimized Input Lag

Input lag can limit your reaction times and overall gaming performance. By enabling the raw input buffer, you minimize input lag to a great extent. Input lag refers to the delay between your physical input (mouse movement or keystroke) and the corresponding action on the screen. With the raw input buffer, this delay is significantly reduced, providing you with a near-instantaneous response to your commands.

In essence, Valorant’s raw input buffer is a potent feature that can greatly improve your gaming experience. By turning on the raw input buffer, you can improve responsiveness, precision and accuracy, consistency between systems, and minimize input lag.

Mastering Valorant requires a combination of skill, strategy, and making use of every advantage at your disposal. With the information and understanding you have gained from this guide, you are now prepared to enable the raw input buffer and enhance your gameplay in Valorant.

Stay updated with the latest news in gaming and esports by signing up for early access to TalkEsport’s Mobile App. Follow us on Twitter and Google News to ensure you never miss the exciting updates.

How To Turn On Secure Boot Windows 11 For Valorant?

0

Valorant, the popular first-person shooter game developed by Riot Games, has specific system requirements that must be met to ensure smooth gameplay. Among these requirements are two security technologies: Trusted Platform Module (TPM) 2.0 and Secure Boot. These features are particularly crucial for Windows 11 users, as they enhance the trust and safety levels when booting programs. Riot Games’ anti-cheat software, Vanguard, necessitates these features to verify a PC’s trusted state.

This article will provide a step-by-step guide on enabling Secure Boot and TPM 2.0 for Valorant, ensuring you can enjoy the game without any hitches.

How to fix TPM 2.0 error?

Secure Boot and TPM 2.0 are integral to the functionality of Valorant on your PC. If either of these features is disabled on your Windows 11 system, Valorant will not launch, and you will encounter error codes VAN9001 or VAN9003. These error codes indicate that Vanguard requires TPM version 2.0 and Secure Boot to be enabled for the game to play.

How to Enable Secure Boot for Valorant?

To enable Secure Boot, you need to access your system’s BIOS settings. Remember, altering your BIOS settings can be tricky if you’re unfamiliar with the process, and incorrect configurations can lead to system issues. Here’s how to enable Secure Boot:

  • Identify your BIOS key setup, which could be F10, F2, F12, F1, or DEL keys.
  • Restart your system.
  • Press the appropriate BIOS key until the BIOS menu appears on the screen.
  • In the BIOS menu, select the BOOT option, then Secure Boot, and enable it.
  • Ensure the BIOS Mode value is UEFI and the Secure Boot State value is On.

Once Secure Boot is enabled, you can proceed to enable TPM 2.0. Here’s how:

  • Press the Windows key.
  • Type “tpm.msc” and press Enter. If TPM is unsupported or not enabled, you will see a message indicating that a compatible TPM cannot be found.
  • If TPM is supported on your system, a new window will pop up with the status “The TPM is ready for use.” Ensure that the specification version is 2.0 in the TPM Manufacturing Information window.

Stay updated with the latest news in gaming and esports by signing up for early access to TalkEsport’s Mobile App. Follow us on Twitter and Google News to ensure you never miss the exciting updates.

How to Uncensor VALORANT Chat Easily?

0

Online gaming is a thrilling experience, but it can sometimes be marred by toxicity. Valorant, a popular game by Riot Games, is no exception. To combat this, Riot Games has implemented a language filter to keep the chat safe and enjoyable for all players. However, if you’re interested in seeing the unfiltered chat or wish to create a personalized filter, Valorant offers options to do so.

This article will guide you through the process of uncensoring your chat and setting up a custom filter in Valorant.

How to Uncensor VALORANT Chat Easily

Valorant’s chat is typically censored to protect players from offensive language. However, if you wish to view the chat without any filters, you can manually disable Riot’s language filter. Here’s how:

  • Launch Valorant.
  • Navigate to the Settings menu.
  • Click on Controls and proceed to Communications.
  • Turn off the option labeled ‘Explicit Language Filter’.

All types of known inappropriate words and phrases will be displayed in your Valorant chat once you’ve disabled the Explicit Language Filter.

Valorant also allows you to create a custom chat filter. This feature lets you ban any words or phrases you find offensive, even if Riot doesn’t categorize them as such. Here’s how to set up a Muted Words List:

  • Follow the same steps as above until you reach the Communications section.
  • The ‘Muted Words List’ option is located just below the ‘Explicit Language Filter’.
  • Type a word or phrase you wish to censor and hit ‘Enter’ on your keyboard.

This feature is particularly useful for banning specific offensive words or phrases you encounter during your matches.

Stay updated with the latest news in gaming and esports by signing up for early access to TalkEsport’s Mobile App. Follow us on Twitter and Google News to ensure you never miss the exciting updates.

How To Fix Naraka Bladepoint Stuck on loading screen?

0

Naraka: Bladepoint, the thrilling free-to-play action game, has been captivating the gaming community with its immersive gameplay and stunning graphics. However, some players have encountered a frustrating roadblock – the game getting stuck on the main menu with the ‘Tap to Start’ prompt. This article provides a comprehensive guide to resolving this issue, ensuring a seamless gaming experience.

How To Fix Naraka Bladepoint Stuck on loading screen?

The ‘Stuck on Main Menu’ issue in Naraka: Bladepoint can be a significant hindrance to players eager to dive into the game’s action-packed world. This problem manifests as the game freezing on the main menu, preventing players from progressing beyond the ‘Tap to Start’ prompt.

Checking Your Internet Connection

The first step in troubleshooting this issue involves checking your internet connection. High ping or latency can often cause the game to get stuck on the main menu. To rectify this, try restarting your router to clear the cache, disconnect any additional devices connected to your network, and ensure you’re connected via ethernet for a stable connection.

Updating Your Graphics Card Driver

Outdated graphics card drivers are a common culprit behind the ‘Stuck on Main Menu’ issue. Keeping your drivers up-to-date is crucial for optimal system performance. Visit your hardware manufacturer’s website to download and install the latest version of their GPU driver suite.

Utilizing Driver Easy

Updating drivers can be a tedious process, especially for those unfamiliar with it. A free driver updater tool like Driver Easy can simplify this task. It scans your system for outdated drivers and provides a list of available updates, allowing you to update all drivers at once or selectively.

Disabling Full Screen Optimization

Full-Screen Optimization can sometimes interfere with game startup. To disable this feature, navigate to your Steam Game Library, right-click on Naraka: Bladepoint, select ‘Manage’, and then ‘Browse Local Files’. Right-click on the game’s EXE file, select the ‘Compatibility’ tab, and disable Full Screen Optimization.

Temporarily Disabling Antivirus and Firewall

Your antivirus or firewall can occasionally block certain game files, causing the game to malfunction. Temporarily disabling these programs and running the game can help identify if they’re causing the issue. If the game runs smoothly with these programs disabled, consider adding Naraka: Bladepoint to your antivirus and firewall exception lists.

Disabling Vsync

Disabling Vsync can also help resolve the issue. This can be done through the in-game settings or via the Nvidia Control Panel by selecting ‘Manage 3D Settings’, finding ‘Vertical Sync’, and setting it to ‘Off’.

Closing Background Applications

Background applications can sometimes interfere with game performance. Open your Task Manager and close any unnecessary apps running in the background.

Verifying or Repairing Game Files

Corrupted game files can cause the ‘Stuck on Main Menu’ issue. To fix this, verify the game files in Steam. Navigate to your Steam library, right-click on Naraka: Bladepoint, select ‘Properties’, and click on the ‘Local Files’ tab. Click on ‘Verify Integrity of Game Files’, and Steam will verify and repair any corrupted files.

Stay updated with the latest news in gaming and esports by signing up for early access to TalkEsport’s Mobile App. Follow us on Twitter and Google News to ensure you never miss the exciting updates.

Fallout 76 July 2023 Update Patch Notes: Everything You Need to Know

0

The world of Fallout 76 continues to evolve, with Bethesda Game Studios rolling out a new update on July 18, 2023. This update, version 1.7.5.4, brings a plethora of bug fixes, gameplay improvements, and more to the post-apocalyptic landscape of Appalachia. Here’s a detailed look at what’s new and improved in the game.

Patch Sizes and Platforms

The size of the update varies depending on your platform. For PC users, the patch size is 2.4 GB on Steam and 10.3 GB on the Microsoft Store. PlayStation and Xbox users will need to allocate 9.7 GB and 10.2 GB of space, respectively.

Audio and Animation Enhancements

The update introduces various audio fixes for C.A.M.P. items and ensures music plays when opening the Perk Card Menu. Animation improvements include a fix for the reload animation while using the Extra Large Magazine mod for the Gatling Laser Gun, and adjustments to the heavy weapon drawing animation to prevent clipping while wearing the Cultist Enlightened Robe.

C.A.M.P. and Workshop Updates

C.A.M.P. and Workshop have also seen significant improvements. For instance, Steven Scarberry and Joey Bello now have dialogue when speaking to other players visiting the C.A.M.P. they are placed in. All Plushies now have the same size thumbnail image in build mode, and all Brotherhood of Steel Guard Posts are now on the same list in the build menu.

Daily Challenges and Daily Ops

Modding a Plasma Cutter now works towards the “Mod a laser weapon” Daily Challenge. In Daily Ops, players can now receive Diluted Stimpaks as contextual ammo when using a melee weapon.

Item and Weapon Modifications

The update also brings changes to various items and weapons. For example, the Free States Resistance Underarmor name now dynamically changes when mods are applied. The Ultracite Gating Laser no longer degrades faster than the Gatling Laser, and numerous fixes have been made to weapons that deal fire-type damage.

UI and Perk Adjustments

To make the various perk cards easier to read, “Resistance” has been added as a sentence prefix in the UI. With unarmed damage-type weapons, the legendary perk Collateral Damage now functions as intended.

Stay updated with the latest news in gaming and esports by signing up for early access to TalkEsport’s Mobile App. Follow us on Twitter and Google News to ensure you never miss the exciting updates.