Home Blog Page 736

Best Counter Strike 2 Settings For High FPS

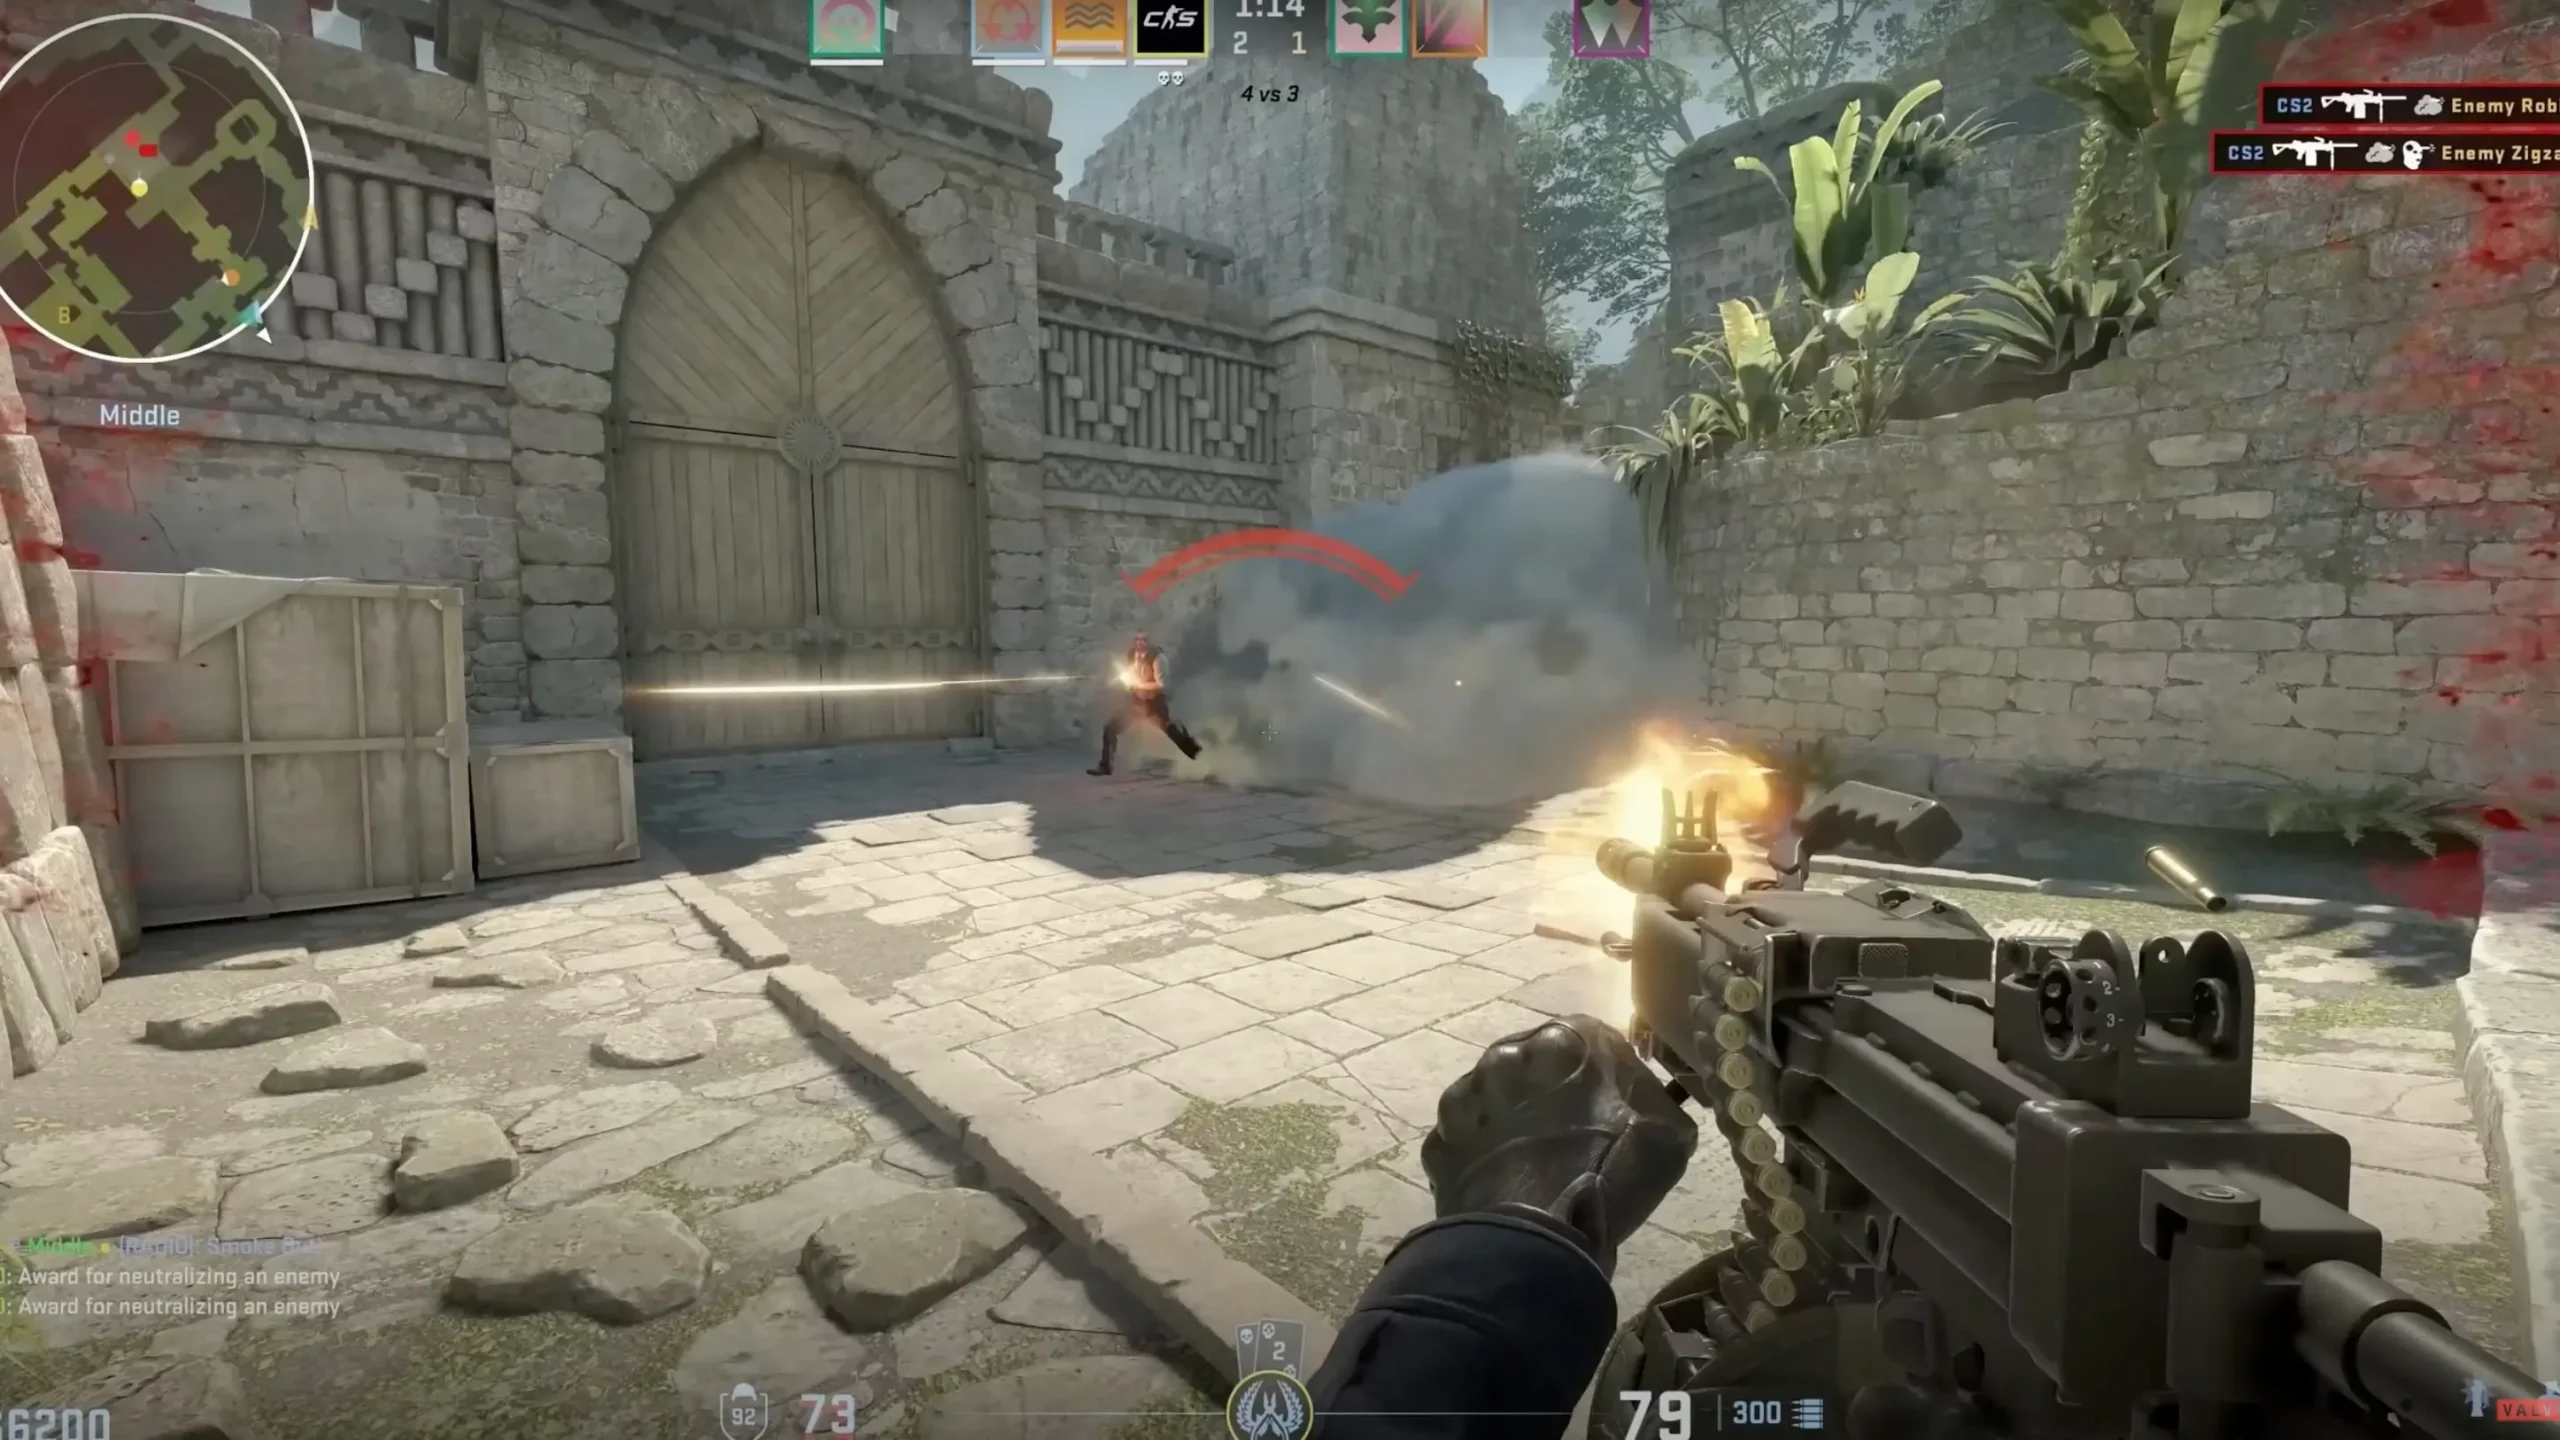
This article covers the best video settings, game settings, pro settings, and other factors to optimize your gameplay experience. From resolution and aspect ratio to sensitivity and mouse acceleration, we have you covered. Whether you are a casual player or a competitive gamer, these tips will help you achieve smoother gameplay and a competitive edge. Dive in and adjust your settings just right!

Key Takeaways:

  • Optimize video settings for high FPS: adjust resolution, refresh rate, and brightness to improve gameplay performance.
  • Customize game settings to your preference: personalize HUD, team and communication options, and utilize spectator/scoreboard features for better gameplay experience.
  • Utilize pro settings for competitive advantage: adjust sensitivity, mouse acceleration, DPI and eDPI, and mouse polling rate to match your playstyle and improve accuracy.

Video Settings

The Video Settings in Counter-Strike 2 cover various aspects like resolution, aspect ratio, Global Shadow Quality, Ambient Occlusion, FidelityFX Super Resolution, and NVIDIA Reflex Low Latency.

Resolution in video settings determines the clarity of images displayed during gameplay. Opting for a higher resolution can deliver sharper visuals but may impact performance.

Aspect ratio influences the width-to-height ratio of the screen, affecting how the game is displayed. Global Shadow Quality impacts the level of detail in shadows, enhancing the overall visual experience. For the best Counter Strike 2 settings for high FPS, check out this guide.

Ambient Occlusion enhances the realism by simulating how light interacts with the environment. FidelityFX Super Resolution boosts image quality by upscaling lower resolutions. NVIDIA Reflex Low Latency minimizes input lag for smoother gameplay.

Resolution and Aspect Ratio

Selecting the appropriate Resolution and Aspect Ratio in Counter-Strike 2 is essential to align with your system requirements and gaming preferences. Optimizing your resolution and aspect ratio can have a significant impact on the visual quality and gameplay advantages in CS2.

Having a higher resolution and wider aspect ratio can enhance visual clarity and improve visibility of enemies at a distance. It is crucial to find a balance to ensure smooth performance, especially if your system may struggle with higher settings.

Adjusting these settings can also impact your field of view and the rendering of objects on the screen, influencing your overall gaming experience. Discovering the optimal settings that suit your system capabilities while enhancing gameplay can make a noticeable difference in your CS2 performance.

Refresh Rate

The Refresh Rate setting in Counter-Strike 2 determines how frequently the display updates with new images. A higher refresh rate can lead to smoother gameplay and improved performance, particularly when paired with optimized frame rates.

This setting plays a critical role in enhancing visual quality and optimizing gameplay smoothness. By increasing the Best Counter Strike 2 Settings For High FPS, players can reduce motion blur and screen tearing, creating a more immersive gaming environment. A higher refresh rate enables faster response times, providing players with a competitive advantage in fast-paced situations. Synchronizing the refresh rate with the frame rate can result in seamless gameplay, devoid of lag spikes and visual distortions. Tweaking performance through these settings can significantly impact the overall gaming experience.

Brightness

Adjusting the Brightness setting in Counter-Strike 2 can enhance visual improvements and create a more immersive gaming experience. Finding the right balance of brightness is key to optimizing visibility and ensuring a competitive advantage.

Different environments and gaming scenarios may require varying brightness settings to achieve optimal visual clarity. For instance, playing in a dimly lit room may necessitate higher brightness levels to illuminate dark areas effectively, while a well-lit environment might benefit from lower brightness for better contrast.

Experimenting with brightness levels and adjusting accordingly can help enhance details in shadows or brightly lit areas, ultimately improving gameplay visibility and immersion. Understanding how brightness impacts visual enhancements can give players an edge in spotting enemies, deciphering intricate details in the game world, and overall gameplay performance.

Game Settings

The game settings in Counter-Strike 2 include various elements like HUD (Heads-Up Display), Radar customization, Input lag optimizations, and other custom settings provided by Valve.

These settings are essential in shaping the player’s experience and impacting their performance in the game. For instance, having control over the HUD allows players to tailor the display to their preferences, which can improve visibility and streamline information during intense gameplay moments. Customizing the radar settings can offer a strategic advantage by refining the player’s awareness of their surroundings in the virtual battlefield. Optimizing input lag helps in reducing delays between a player’s actions and the game’s response, ultimately enhancing reflexes and increasing accuracy in gameplay. The range of settings provided by Valve caters to both casual players seeking a personalized experience and serious competitors aiming for a competitive edge.

HUD

The Heads-Up Display (HUD) in Counter-Strike 2 is designed to provide important information to players during gameplay, giving them a competitive edge by showing details such as health, ammo, and map location.

Players have the option to customize the HUD in CS2 to suit their preferences and playstyle. By making adjustments to the layout, size, color, and transparency of the HUD elements, players can optimize their visual interface to enhance focus and decision-making. For example, giving priority to specific information like ammo count or teammate locations can improve player performance in challenging situations. This customization level not only boosts gameplay efficiency but also adds a personal element to the overall gaming experience in Counter-Strike 2.

Team

Team settings in Counter-Strike 2 are crucial for efficient communication and coordination during competitive play. Setting up the Radar display and team communication tools can greatly impact team performance and strategy execution.

Utilizing the Radar effectively enables teammates to gather essential information about enemy positions, movements, and potential threats, facilitating quick decision-making and coordinated attacks.

Clear and concise communication within the team is also essential for sharing information, coordinating strategies, and alerting others about enemy activity in real-time.

In high-stakes competitive gaming, where split-second decisions can determine the outcome of a match, the ability to collaborate as a team through effective communication and Radar usage can be the key to success.

Communication

Effective communication settings in Counter-Strike 2, including the use of Developer Console commands and EQ Profiles, play a vital role in team coordination, strategy implementation, and overall gameplay experience.

By leveraging these communication tools, players can efficiently relay information, such as enemy positions, upcoming strategies, and resource allocations. Developer Console commands allow for quick access to game settings, performance statistics, and in-depth server controls, enabling teams to tweak gameplay elements on the fly. EQ Profiles enhance the auditory experience by fine-tuning sound cues, footsteps, and weapon noises, thereby increasing situational awareness and creating a more immersive gaming environment for all team members.

Spectator / Scoreboard

The Spectator and Scoreboard settings in Counter-Strike 2 contribute to a comprehensive gaming experience, allowing players to track match progress, analyze performance metrics, and adjust settings such as Master Volume for an immersive gameplay environment.

Spectator mode allows observation of ongoing matches from different player perspectives, providing insights into strategies and tactics employed by top players. The Scoreboard feature displays crucial information such as player scores, kills, deaths, and assists in real-time, enabling assessment of individual and team performance instantly. These options not only enhance the competitive aspect of CS2 but also give the power to players to make informed decisions and improve their gameplay by learning from others.

Item

Customizable item settings in Counter-Strike 2 have an impact on the game’s visual aesthetics, giving players the option to personalize their perspective and gaming experience with features like Perspective Correction.

These settings allow players to modify visual aspects such as brightness, contrast, and color schemes to tailor their gaming environment to their liking.

Perspective Correction is crucial for enhancing the immersive experience by ensuring that objects and environments appear visually accurate and realistic. Additional visual customization choices like depth of field effects and texture filtering further enhance the game’s visual appeal, resulting in a more captivating and visually pleasing gameplay experience in CS2. For the best settings to achieve high FPS in Counter Strike 2, check out this Best Counter Strike 2 Settings For High FPS.

Radar / Tablet

The Radar and Tablet settings in Counter-Strike 2 offer players necessary information and alerts, supporting team coordination, map awareness, and community notifications for a more immersive gaming experience.

Players have the option to personalize their Radar settings to modify the display of enemy locations, bomb sites, and teammate positions, enabling quick decision-making and strategic movements in intense matches.

Tablet settings allow real-time communication with teammates, aiding in creating effective strategies and coordinating simultaneous actions for a unified approach to objectives. These settings are crucial in improving player communication, promoting teamwork, and enhancing community engagement within the dynamic game environment of CS2.

Pro Settings

Professional players often adjust their Counter-Strike 2 settings to optimize their performance, paying attention to important factors like Sensitivity, Mouse Acceleration, and Mouse settings to gain a competitive advantage.

They recognize that fine-tuning their sensitivity, which dictates how their in-game actions correspond to their physical mouse movements, can have a significant impact on their aiming accuracy and reaction time. By finding the right equilibrium, they can achieve precise and smooth targeting, which is vital in intense gaming situations.

Making changes to mouse acceleration, which determines how quickly the cursor moves based on mouse movement speed, enables players to maintain consistent and predictable aiming. These seemingly minor modifications can be pivotal in the competitive world of professional gaming.

Sensitivity

Setting the appropriate sensitivity levels, such as DPI (Dots Per Inch) and eDPI (Effective Dots Per Inch), plays a crucial role in Counter-Strike 2 to ensure accurate aiming, swift reactions, and a gameplay advantage.

Properly adjusting these settings can have a significant impact on a player’s performance in the virtual battlefield. DPI settings determine the mouse’s sensitivity to movement, influencing the speed of the crosshair’s movement. Conversely, eDPI combines DPI with in-game sensitivity settings to establish a comprehensive sensitivity profile. By striking the right balance between DPI and eDPI, players can improve their aiming precision, responsiveness, and ultimately gain a competitive edge over opponents.

Mouse Acceleration

Mouse Acceleration settings are crucial for adjusting mouse responsiveness and movement precision in Counter-Strike 2, impacting gameplay performance and GPU utilization during intense gaming sessions. These settings determine how the on-screen cursor reacts to physical mouse movements, influencing the speed and distance the cursor moves in relation to the mouse’s movement.

For CS2 players, mastering mouse acceleration is vital for achieving accurate aim and quick responses in fast-paced gameplay. By optimizing these settings, players can improve their control over in-game actions, leading to enhanced performance and efficiency.

Achieving the right balance in mouse acceleration not only enhances gameplay precision but can also reduce strain on the GPU, resulting in smoother graphics rendering and an improved gaming experience.

DPI and eDPI

Adjusting the DPI (Dots Per Inch) and calculating the effective DPI (eDPI) through sensitivity settings is a common practice for Counter-Strike 2 players seeking to optimize their aim, responsiveness, and frame time efficiency during gameplay.

By fine-tuning DPI, players can tailor their mouse movements to match their individual preferences, allowing for more precise crosshair placement and smoother tracking. This adjustment impacts eDPI, which combines DPI and in-game sensitivity to determine the overall sensitivity level. Managing eDPI can enhance player performance by finding the optimal balance between accuracy and speed. Adjusting these settings not only boosts aiming precision but also contributes to frame time optimization, ensuring smoother gameplay experiences even in intense combat situations.

Mouse Polling Rate

The Mouse Polling Rate setting in Counter-Strike 2 determines how often the mouse reports its position to the computer, affecting responsiveness and input accuracy. Optimizing the Polling Rate can enhance mouse performance and gameplay precision.

Players often overlook the importance of this setting, but fine-tuning it can make a significant difference in competitive gaming. A higher Polling Rate means more frequent updates, resulting in smoother cursor movements and faster response times. To optimize this setting, accessing your mouse’s software or driver settings is crucial. Typically, adjusting the Polling Rate to a higher value, such as 1000Hz, can provide a more responsive experience. Experimenting with different Polling Rates and finding the one that suits your playstyle best can lead to improved in-game accuracy and overall performance.

Other Important Settings

Along with video and game settings, audio settings, CPU utilization, GPU performance, and frame rate optimization play crucial roles in enhancing the overall gaming experience and competitive advantage in Counter-Strike 2.

Audio settings significantly impact the immersive nature of the gameplay – from the sound of footsteps approaching to the distant gunfire echoing in the background, every detail adds to the thrill of the experience.

Optimal CPU utilization ensures smooth gameplay without lags or delays, allowing for quick reflexes and precise shots.

Similarly, GPU performance dictates the visual quality and smooth rendering of graphics, contributing to a seamless gaming experience.

Effective frame rate optimization is key to maintaining fluid motion and responsiveness, crucial in fast-paced action like in CS2.

Fine-tuning these settings can significantly enhance both performance and immersion, making the gameplay truly captivating.

Audio

Configuring Audio settings in Counter-Strike 2, including adjusting volume levels, spatial sound, and MSAA (Multi-Sample Anti-Aliasing) options, is important for gameplay immersion, clear communication, and a competitive edge.

Properly tuning the volume settings helps players differentiate important in-game sounds like footsteps, gunfire, and environmental cues accurately, providing them with a strategic advantage. Adjusting spatial sound improves the perception of directional audio cues, allowing players to locate the source of sounds precisely. Optimizing MSAA not only enhances visual quality by reducing aliasing effects but also contributes to smoother gameplay, especially in fast-paced scenarios, supporting overall gaming performance and improving collaborative communication efficiency among team members.

Windows Graphics Settings

Optimizing Windows Graphics settings is important for achieving visual appeal and optimizing performance in Counter-Strike 2. Fine-tuning these settings can greatly enhance the overall gaming experience and competitive advantage.

By adjusting graphics settings such as resolution, texture quality, anti-aliasing, and shadow details, players can find a balance between visual quality and smooth performance. Higher resolutions and texture quality can create more immersive in-game environments, while lowering settings like shadows can boost frame rates for better gameplay. Discovering the optimal combination of settings that suit your system specifications is essential for maximizing both aesthetics and performance in CS2.

Steam Settings

Customizing Steam settings can have a significant impact on the gaming experience in Counter-Strike 2. This includes features such as Community Notifications, Developer Console access, and EQ Profiles that enhance game interaction and community engagement.

When players explore the Steam settings within CS2, they can adjust various aspects of their gaming setup to suit their preferences. This could involve tweaking graphic settings for better visuals, customizing keybindings for smoother gameplay, or enabling communication features for improved team coordination. The range of options available allows for a high level of customization that not only enhances the overall gaming experience but also promotes deeper engagement with the player community, facilitating smoother interactions and the sharing of experiences. Accessing developer tools through Steam settings provides players with a wealth of possibilities to explore and customize their gaming environment at a deeper level.

Frequently Asked Questions

What are the best Counter Strike 2 settings for achieving high FPS?

The best settings for achieving high FPS in Counter Strike 2 include lowering your in-game resolution, turning off vertical sync, disabling anti-aliasing, and lowering your graphics quality to low or medium.

How can I optimize my computer for maximum FPS in Counter Strike 2?

To optimize your computer for maximum FPS in Counter Strike 2, make sure your graphics card drivers are up-to-date, close any background programs or applications, and consider upgrading your hardware if necessary.

Will using these settings affect my gameplay experience in any way?

Lowering your graphics settings may decrease the visual quality of the game, but it will significantly improve your FPS. However, for competitive gameplay, having a higher FPS is crucial, so it is recommended to prioritize FPS over graphics quality.

Are there any console commands that can help improve FPS in Counter Strike 2?

Yes, there are several console commands that can help improve FPS in Counter Strike 2, such as “mat_queue_mode 2” and “cl_forcepreload 1”. You can also try using the “-high” launch option to prioritize the game’s processor usage.

Will these settings work for all computers?

These settings may work differently for each computer depending on its hardware specifications. It is recommended to test out different settings and find the ones that work best for your specific computer.

What other tips can you give for achieving high FPS in Counter Strike 2?

In addition to adjusting your in-game settings, make sure to close any unnecessary background programs and keep your computer clean of dust and debris. You can also try overclocking your hardware if you are familiar with the process.
Gray Zone Warfare Sells 400,000 Copies in 1 Day

0

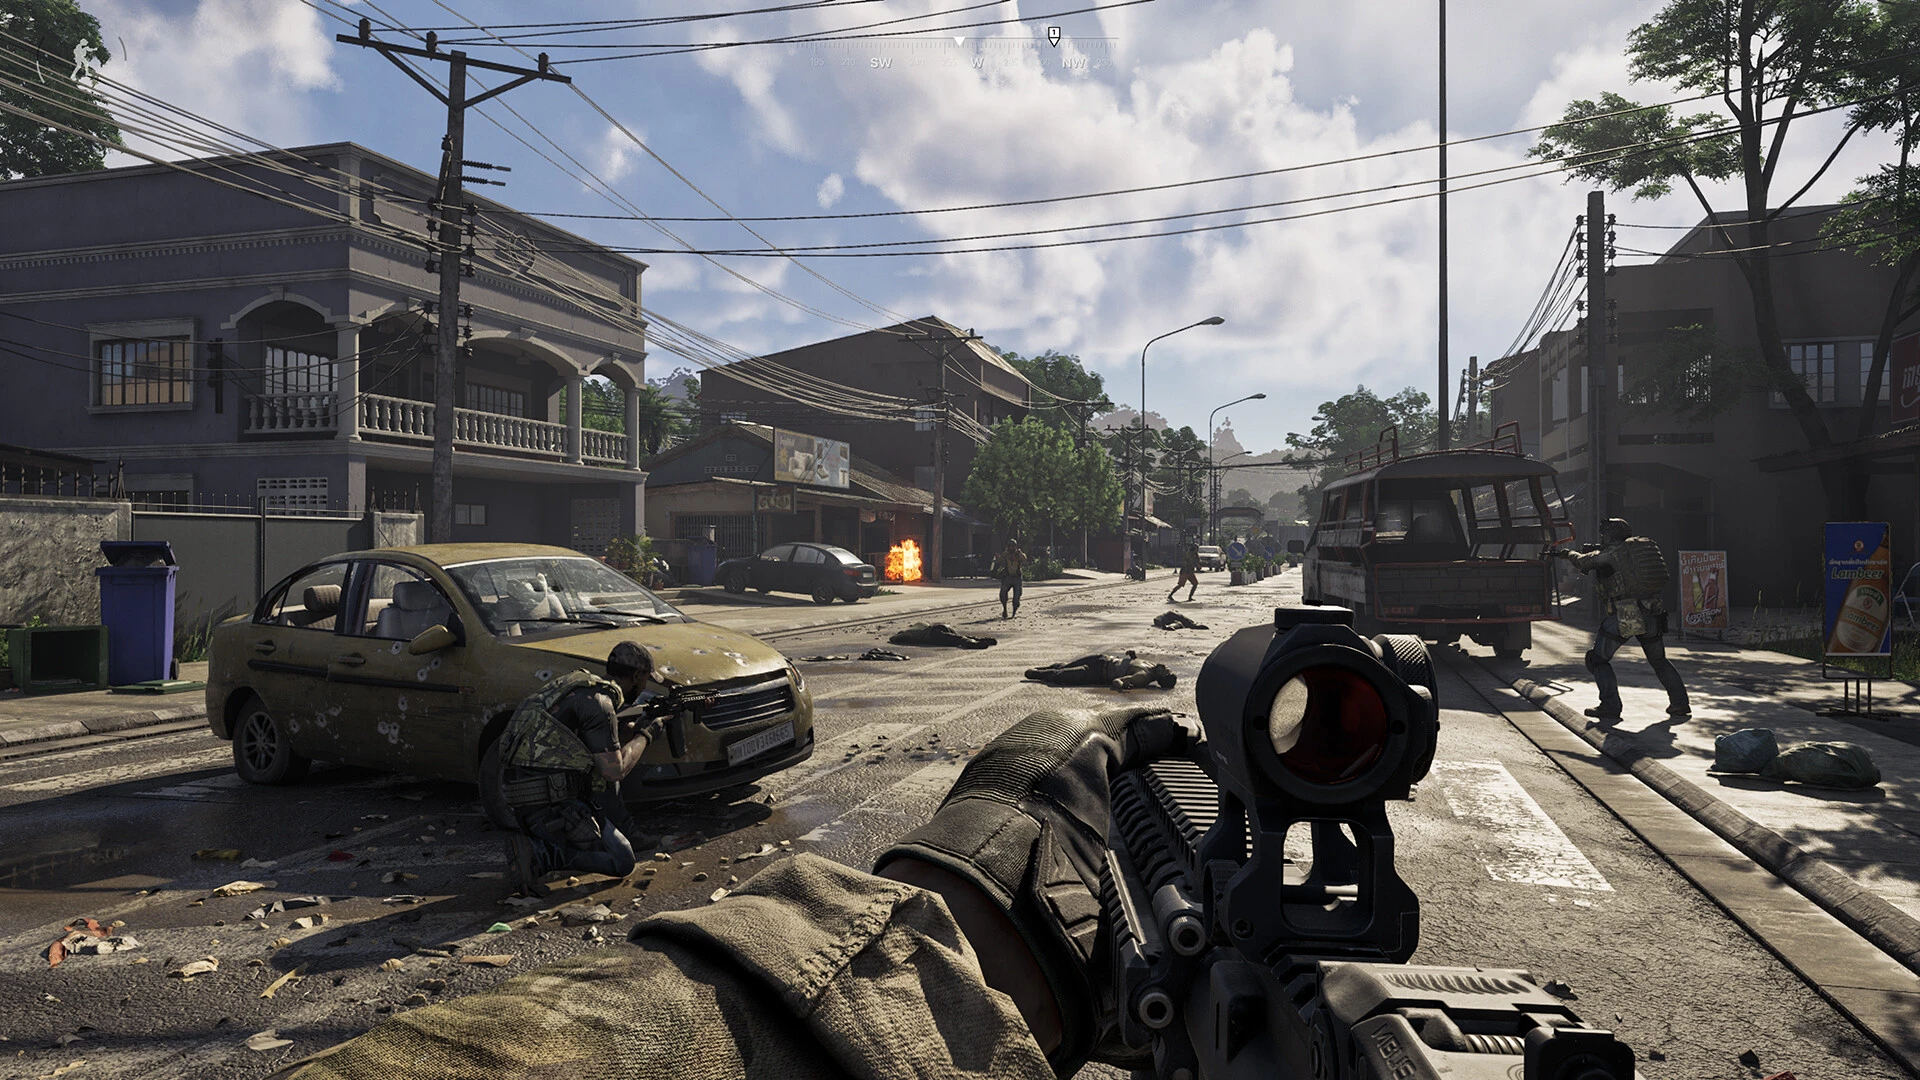
FPS players are very excited about the introduction of Gray Zone Warfare into early access on April 30. The game was developed by MADFINGER Games and is a hyper-realistic FPS game that is currently leading the sales charts of PCs. Within the first 24 hours of launch, Gray Zone Warfare sold over 400,000 copies which is quite an achievement for any game.

Gray Zone Warfare differs from what has been done before in that players can freely roam huge maps. It has become very popular among many players because of its survival mode features, guns that can easily be personalized, and choices between either playing on your own or forming a team.

Even after demanding high-end system requirements, Gray Zone Warfare’s instant popularity is obvious. What helped the game become so well-known so quickly was a promotional campaign supported by the developers that put it in the public eye. At an early stage of development, almost half a million players have purchased special versions to start playing it.

Have you already purchased Gray Zone Warfare? Let us know in the comment section below.

Garena Free Fire MAX Redeem Codes for 2nd May 2024

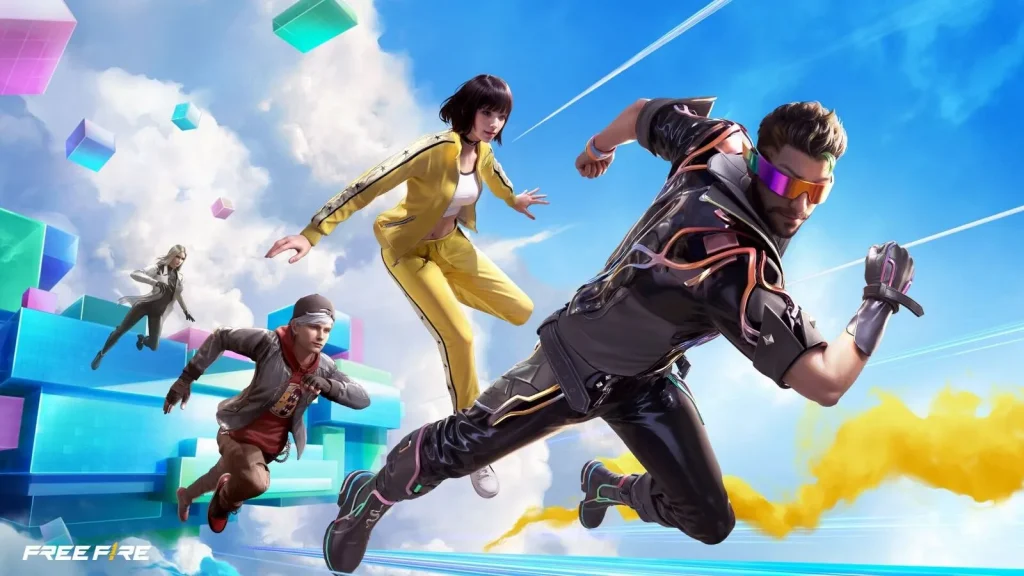
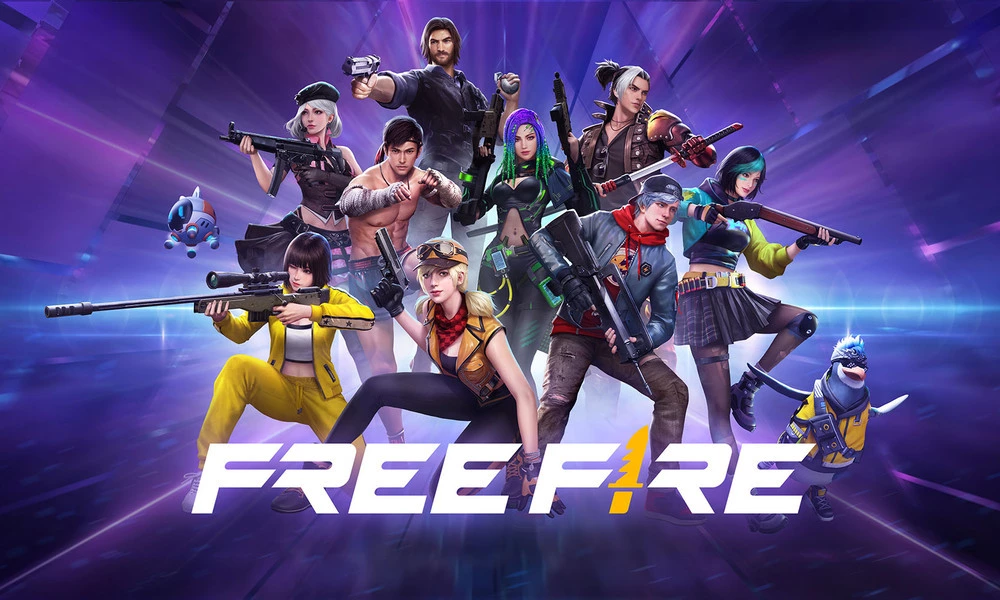
Free Fire is a very popular battle royale game with millions of active users per day. A large part of this fan base comes from India and despite the ban, players have shifted to its advanced version called Free Fire Max to enjoy the game.

The game has same core and hence, it has redeem codes as well. Here are some redeem codes that you can use to get free items in Free Fire Max.

Free Fire redeem codes are special codes that can be used to unlock several items for free in-game. They are not released on a regular basis hence coming across a working code is very hard. 

Garena Free Fire MAX Redeem Codes

As Free Fire now banned in India, players have shifted to Free Fire Max and the entire account history is ported to its servers. This means that players can still use their old accounts and make use of features like redeem codes to get rewards in it as well.

Free Fire MAX Redeem codes for 2nd May 2024:

  • B1C8G5J9K3W4Q6XF
  • T2G7Q4R8X5J9K1C3
  • Q9B3X6F8Y44Z1CLP
  • A1N6Z44L8R2G7XKH
  • 3Q7B52W2P9R4Y8JF
  • E2H7N4C8X5RF1KZM

HOW TO REDEEM CODES IN FREE FIRE MAX

It is quite simple to redeem these codes in Free Fire. Players just need to visit the redemption center and enter the code given below. Use the method given below to get these items.

  • Visit the Reward Redemption center of Garena Free Fire. Click here to visit.
  • Log in with your Free Fire account. One must have either Facebook or Google ID signed in as a Guest account does not work.
  • Enter the code and get free rewards in your in-game item vault.

The redeem codes tend to expire very soon and hence, make sure to use them as soon as you can. Some of them can be region restricted and if you find one like that, simply move on to next one as region restricted codes cannot be used in other areas.

Stay updated with the latest news in gaming and esports by signing up for early access to TalkEsport’s Mobile App. Also, follow us on Twitter and Google News to ensure you never miss the exciting updates.

PlayStation Plus Collection owners of Fallout 4 will get next-gen updates confirms Bethesda

0

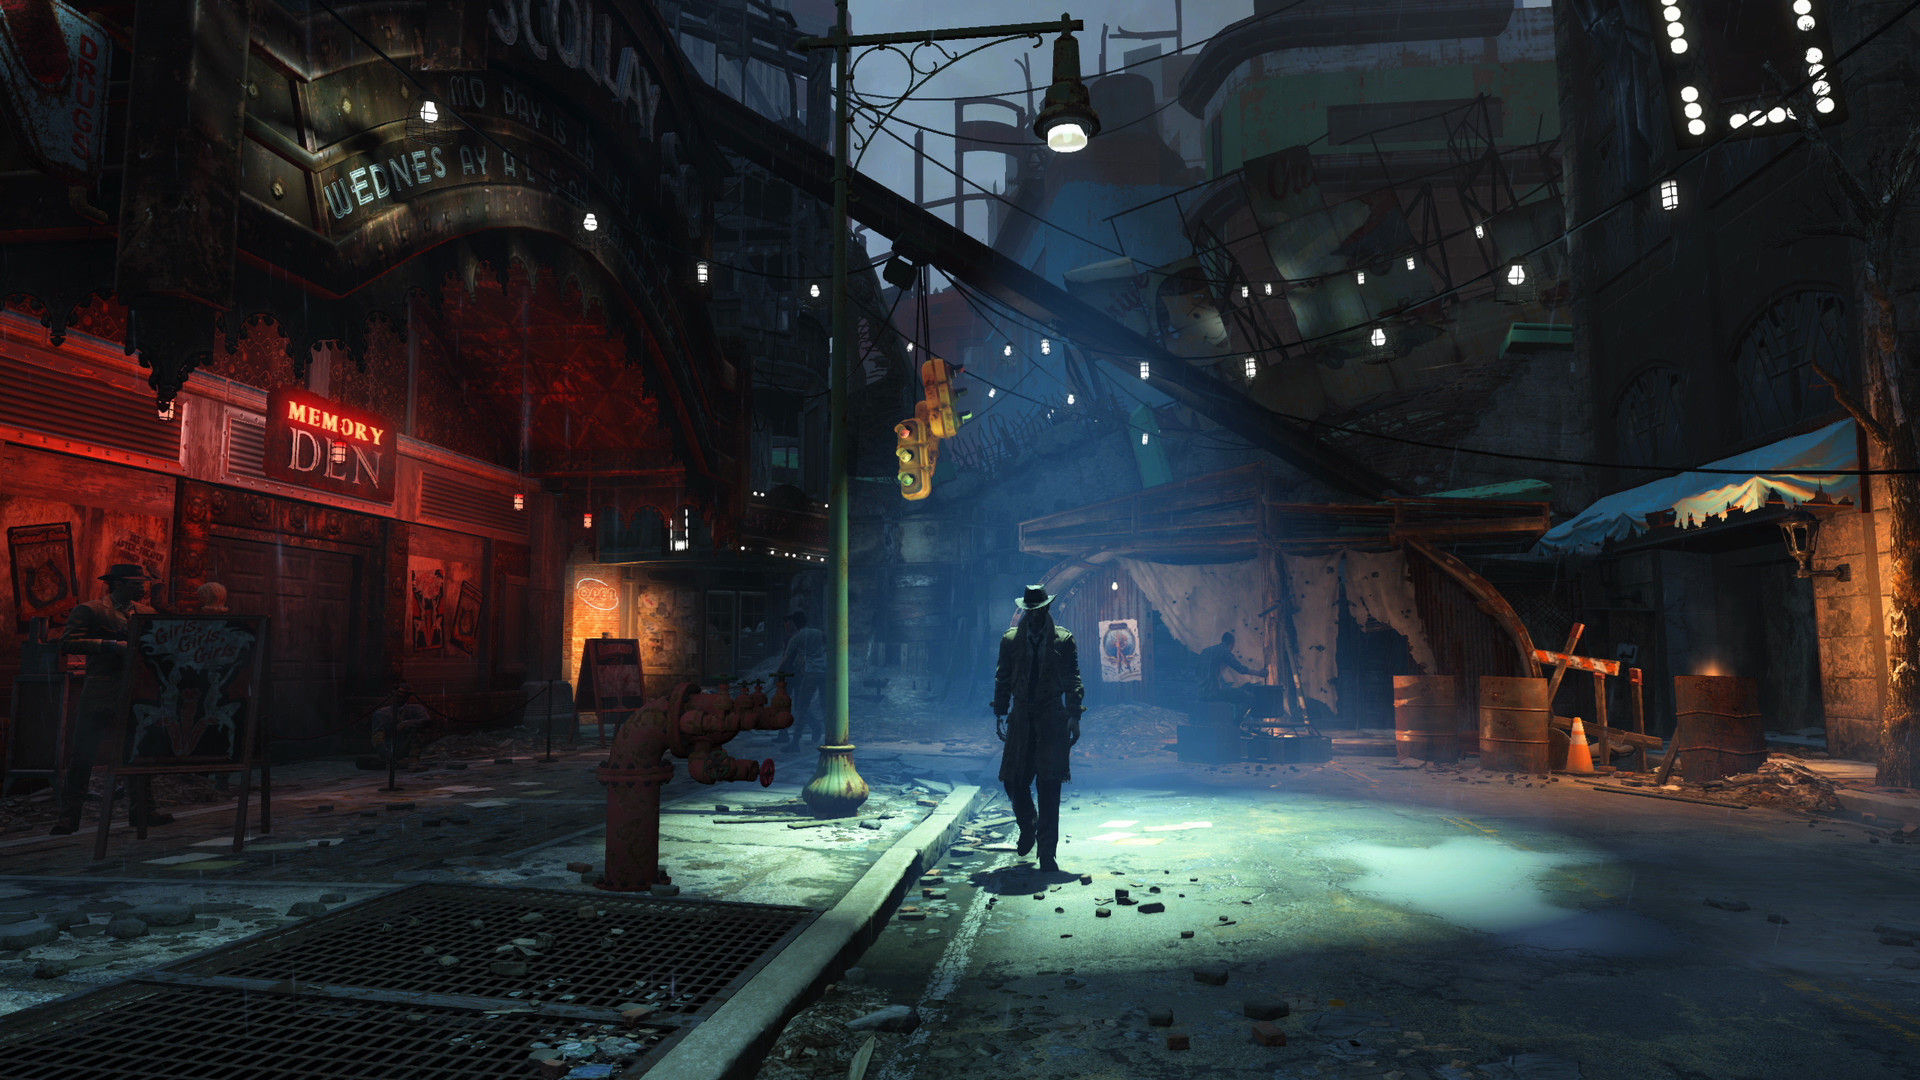
PlayStation owners who had received Fallout 4 through PlayStation Plus were unable to upgrade to the native PlayStation 5 version for free, which confused PlayStation users. Those who purchased Fallout 4 through the PlayStation Plus Collection promotion appear to have been left out in the cold when Bethesda eventually made the game available to PSPlus Collection owners.

As it was presumed, not everyone would be privy to the latest update of the game, and suffice it to say that a lot of players will be left out, especially on the PlayStation side of things as the free update is only for subscribers who have the game via the PlayStation Plus Extra catalog while everyone else has to pony up some money if they want the Next-Gen updates but their latest statement changes that narrative.

“Thanks for letting us know that some PS Plus subscribers have been unable to access the free next-gen update of Fallout 4 on PlayStation,” Bethesda said. “This issue has now been successfully resolved. Subscribers who have previously received Fallout 4 from the PlayStation Plus Collection should now be able to access the update as intended.”

The latest update did not have the smoothest of launches as it came across a plethora of issues, especially with the PC and Xbox versions of the game. Now that the underlying issues are getting resolved, the next-gen updates will be flowing in full swing as time passes. Make sure you cut as not all owners of the game are likely to get it.

Stay updated with the latest news in gaming and esports by signing up for early access to TalkEsport’s Mobile App. Follow us on Twitter and Google News to ensure you never miss the exciting updates.

How to Start Trading in Manor Lords?

There are a few ways to trade in Manor Lords which can be intimidating to figure out at first so we have put together everything you need to know about trading. When building your town in Manor Lords resources will be of the essence and trading is essential to meeting those needs and restocking inventory.

How to trade in Manor Lords

Regional Wealth is the currency employed in this strategy. Posts for trading and livestock To import and export various commodities, resources, and animals like horses, sheep, oxen, and more, you must build trading posts. You must have at least one of the following buildings for you to be able to trade.

  • Trading posts
  • Livestock Trading posts
  • Pack station

All types of trading in Manor Lords

Make sure you have sufficient Regional Wealth before starting with a Trade Route and once it is established, a Travelling Merchant will come in search of the particular item you have chosen to trade.

Once you have set up the aforementioned buildings, you will have the following options to trade.

  • Import
  • Export
  • Full Trade
Manor-Lords

How to set up Trade Routes in Manor Lords

To set up Trade Routes in Manor Lords simply follow the steps below:

  • Go Trading Post.
  • Head over to the Trade tab.
  • Tap the wagon icon next to the item you want to trade.
  • Setup a Trade Route.

In Manor Lords, items with great return on investment would be sheep, ale, berries, bread, eggs, and cloaks. This implies that you can quickly amass Regional Wealth if you sell these goods regularly. Once a trade route is set up, make sure to have the necessary items ready to trade to quickly fill your wallets.

Stay updated with the latest news in gaming and esports by signing up for early access to TalkEsport’s Mobile App. Follow us on Twitter and Google News to ensure you never miss the exciting updates.

LOL Patch 14.10: All You Need to Know

Riot Games is gearing up for the release of Patch 14.10 during the 2024 League of Legends season. Due for release on May 15th, an update that is anticipated to significantly change the meta once more by introducing major changes.

This article will take a look at all the major changes that Riot Games intends to make with the upcoming update.

Patch 14.10 will be released on May 15th, being the 10th update out of the 24 that are expected for the year. Yet you should remember that the proposed amendments may be altered to refine them further before being implemented as Riot Games is refining them using feedback from players as well as their testing.

LOL Patch 14.10 poster

LOL Patch 14.10 Possible Changes

CHAMPION CHANGES IN PATCH 14.10

Corki

  • Base health: 610 ⇒ 640
  • Health growth: 103 ⇒ 100
  • Base AD: 61 ⇒ 55
  • Base armor: 28 ⇒ 30
  • Armor growth: 4.7 ⇒ 4.5
  • Base attack speed: 0.638 ⇒ 0.644
  • P no longer has package or converts 80% to magic damage
  • P now deals 15% bonus true damage
  • Q missile speed: 1000 ⇒ 1100
  • Q cooldown: 8 seconds flat ⇒ 9 – 7
  • Q mana cost: 60 – 100 ⇒ 60 – 80
  • W tick rate: 0.25 ⇒ 0.5
  • W now has a minimum dash range of 300
  • W mana cost: 80 flat ⇒ 80 – 100
  • E cooldown: 16 seconds ⇒ 12 seconds
  • E mana cost: 50 ⇒ 50 – 70
  • E damage: 50% physical and magic ⇒ 100% physical
  • E base damage: 120 – 320 ⇒ 100 – 300
  • E bonus AD ratio: 240% ⇒ 200%
  • E shred: 8 – 20 ⇒ 12 – 24
  • E now max shreds at 4 instead of 8
  • R damage: magic ⇒ physical
  • R mana cost: 20 ⇒ 35
  • R max ammo: 7 ⇒ 6
  • R recharge time: 12 – 10 ⇒ 20
  • R now refunds 5 seconds per auto attack
  • R base damage: 80 – 150 ⇒ 100 – 300
  • R AD ratio: 25% – 75% ⇒ 70%
  • R AP ratio removed

Item changes

Abyssal Mask

  • Cost reduced by 200
  • Aura radius: 550 ⇒ 700
  • MR shred: 5 + 1.2% bonus HP ⇒ 20% MR
  • MR reduced by 10

Anathema’s Chains

  • Removed

Bami’s Cinder

  • Glowing Mote replaces 1 Ruby Crystal in recipe
  • Cost reduced by 100
  • Health reduced by 100
  • Now grant 5 ability haste
  • Minion and monster damage: 125% ⇒ 140%

Black Cleaver

  • Shred per stack: 5% ⇒ 6%

Blackfire Torch

  • 90 AP
  • 600 Mana
  • 25 AH
  • Cost: 2800
  • Passive – Baleful Blaze: dealing damage with Abilities causes enemies to burn for 20 = (4% + 20) magic damage per second for 3 seconds. This damage increases by 20 per second to Monsters.
  • Passive – Blackfire: for each enemy Champion, Epic Monster, and Large Monster affected by your Baleful Blaze, gain 4% Ability Power.

Blade of the Ruined King

  • AD: 55
  • AS: 30%
  • Lifesteal: 10%
  • Health damage reduced for ranged champions to 6%
  • Slow is no longer decreased for ranged
  • Attacking a champion three times slows for 30% for 1 second

Bloodthirster

  • Cloak replaced by Pickaxe
  • Crit chance removed
  • AD increased by 25
  • Now converts excess life steal into a 50 – 400 shield for 2 seconds instead of AD above 70% max HP

Boots of Swiftness

  • Move speed: 60 ⇒ 45
  • Slow resist removed
  • Auto attacks now grant 30/20 move speed for 2 seconds

Collector

  • Pickaxe replaced by BF Sword
  • Crit chance increased to 25%
  • AD increased by 5
  • Lethality reduced by 1

Dagger

  • Attack speed: 12% ⇒ 10%

Dawncore

  • Bandleglass Mirror replaced by 2 Forbidden Idols
  • Summoner spell and ability haste removed
  • Mana regen reduced by 50%
  • AP increased by 20
  • AP per 100% mana regen: 5 ⇒ 10
  • Now grants 16% h/s power
  • H/S per 100% regen: 3% ⇒ 2%

Essence Reaver

  • Sheen replaced by BF Sword
  • Cost increased by 300
  • No longer has a spellblade effect, instead restores 15 + 10% bonus AD mana on-hit
  • Crit chance increased to 25%
  • AD and ability haste increased by 5

Fated Ashes

  • 40 AP
  • Cost: 900
  • Passive – inflame: dealing damage with abilities causes enemies to burn for magic damage per second for 3 seconds. damage increases to 20 against monsters

Hearthbound Axe

  • Long Sword replaces 1 Dagger in recipe
  • Cost increased by 150
  • AD increased by 5
  • Attack speed reduced by 5%

Hollow Radiance

  • Now grants 10 ability haste
  • Health: 600 ⇒ 450

Immortal Shieldbow

  • Cloak and Vamp Scepter replaced by Noonquiver
  • Crit chance increased to 25%
  • AD increased by 5
  • Life steal removed

Infinity Edge

  • Cost increased by 100
  • Crit chance increased to 25%
  • AD: 65 ⇒ 80

Knight’s Vow

  • Now has Rejuv Bead in recipe
  • Armor reduced by 5
  • Now grants 100% HP regen
  • Damage redirect: 10% ⇒ 12%
  • Redirect is no longer doubled below 30% HP

Kraken Slayer

  • AD: 50
  • AS: 40%
  • MS: 7%
  • No longer grants crit
  • Increased damage is now based on missing HP instead of consecutive attacks (up to 150% based on missing HP)
  • Recipe: Recurve bow, Hearthbound Axe, and Rectrix

Liandry’s Torment

  •  Blasting Wand replaced by Fated Ashes

Lord Dominik’s Regard

  • Loses its passive for more armor pen and AD
  • 45 AD
  • 40% Armor pen
  • 25% Crit

Luden’s Companion

  • Base damage: 45 ⇒ 60
  • Damage per charge: 35% ⇒ 50%
  • Now gains all 6 charges immediately after 12 seconds instead of 1 every 3

Merc Treads

  • Cost reduced by 100
  • MR increased by +5
  • Tenacity: 30% ⇒ 20%

Mercurial Scimitarr

  • Cloak replaced by Vamp Scepter
  • Cost increased by 300
  • Crit chance removed
  • Now grants 10% life steal

Mobility boots

  • removed

Mortal Reminder

  • 40 AD
  • 35% armor pen
  • 25% crit

Navori Flickerblade (replaces Quickblades)

  • 40% AS
  • 25% crit
  • 7% MS
  • cost: 2600
  • Transcendence: your attacks reduce non-ultimate ability CD by 15% of their remaining cooldown

Noonquiver

  • Dagger replaced by Cloak
  • Cost increased by 100
  • Now grants 20% crit instead of 15% attack speed
  • AD reduced by 5
  • No longer deal 20 damage to minions and monsters

Overlord’s Bloodmail

  • 40 Attack Damage
  • 500 Health
  • Passive – tyranny: gain 2% of your bonus Health as Attack Damage.
  • Passive – retribution: gain up to 10% increased Attack Damage based on your percent missing Health. Maximum Retribution bonus while below 30% Health.

Phantom Dancer

  • Attack speed: 60%
  • Crit: 25%
  • MS: 12%
  • AD and passive removed
  • Cost reduced by 200
  • Rectrix replaced with 2 daggers

Plated Steelcaps

  • Damage reduction on auto attacks: 12% ⇒ 8%
  • Cost reduced by 100
  • +5 armor

Randuin’s Omen

  • No longer has Rock Solid passive
  • Slow: 55% ⇒ 70%
  • Cooldown increased by 30 seconds
  • Health reduced by 50
  • Armor increased by 20

Rapid Firecannon

  • Long Sword and Kircheis Shard replaced by Scout’s Slingshot
  • Cost reduced by 400
  • Crit chance increased to 25%
  • AD removed
  • Attack speed increased by 15%

Recurve Bow

  • Damage: magic ⇒ physical

Runaan’s Hurricane

  • Recurve Bow replaced by Scout’s Slingshot
  • Cost reduced by 200
  • No longer deals 30 on-hit damage
  • AD ratio: 40% ⇒ 50%
  • Crit chance increased to 25%

Scout’s Slingshot (new item) – replaces Kircheis shard

  • 20% AS
  • Passive – magic rock: damage a champion deals an additional 40 magic damage. Attacks reduce this cooldown by 1 second.

Sunfire Aegis

  • Now grants 10 ability haste
  • Health reduced by 150

Statikk Shiv

  • New recipe Scout’s Slingshot + Hearthbound Axe (cost unchanged)
  • Crit chance removed
  • Attack speed increased by 10%
  • New passive killing enemies fires chain lightning that deals 90 magic damage hits up to 6 additional targets (3s cooldown)
  • Takedown damage is tripled and has no cooldown

Symbiotic Soles (new boots)

  • 35 MS
  • Recall is empowered
  • After traveling 150000 units of distance, gains 45 MS out of combat

Terminus

  • Recurve Bow and BF Sword replaced by Hearthbound Axe
  • AD reduced by 5
  • Attack speed increased by 5%

Unending Despair

  • Cooldown: 7 seconds ⇒ 5 seconds

Verdant Barrier

  • Cost reduced by 100

Voltaic Cyclosword

  •  Kircheis Shard replaced by 2 Long Swords

Warmog’s Armor

  • Health: 750 ⇒ 1000
  • Health regen: 200% ⇒ 100%

Winter’s Approach (Fimbulwinter)

  • Ruby Crystal replaced by Giant’s Belt
  • Health increased by 150
  • Health from mana: 8% total ⇒ 15% Bonus

Yun Tal Wildarrows

  • 65 AD
  • 25% crit
  • Passive – big sting: critical strikes deal 35% AD additional damage over 2 seconds

Zeal

  • Crit chance: 15% ⇒ 20%

Zeke’s Convergence

  • Glacial Buckler replaced by Cloth Armor and Null Magic
  • Mana removed
  • Ability haste reduced by 10
  • Health increased by 100
  • Armor reduced by 5
  • Now grants 25 MR

Zephyr

  • Berserker’s Greaves upgrade – unlocks at level 15
  • 40% AS
  • 65 MS
  • Reduce effectiveness of slows by 20%

System Changes

Absorb life (new rune)

  • Replaces overheal
  • Killing a target heals you: 2 – 17

Barrier

  • Shield: 105 – 411 ⇒ 120 – 480
  • Duration: 2 seconds ⇒ 2.5 seconds

Cash Back

  • Replaces Triple Tonic on the first row
  • Triple Tonic was moved to row 2 and replaces Future’s Market
  • Get 6% gold back when you purchase legendary items (example: 2800 gold item purchase = 168 gold)

Corrupting Potion

  • removed

Cut Down

  • New effect: deal 8% more damage to champs who have more than 60% max HP

Exhaust

  • Slow: 30% ⇒ 40%
  • Cooldown: 210 seconds ⇒ 240 seconds

Ghost

  • Duration: 15 seconds ⇒ 13 seconds
  • Cooldown: 210 ⇒ 240

Fleet Footwork

  • Base heal: 10 – 130 ⇒ 8 – 110
  • Speed duration: 1 ⇒ 1.25

Font of Life

  • Immobilizing enemies now heals user and lowest HP ally for 10 – 50, reduced to 70% for ranged

First Strike

  • Bonus: 7% ⇒ 8%
  • Base gold increased by 10
  • Gold from damage: 100%/70% ⇒ 50%/35%

Hail of Blades

  • Attack speed reduced to 80% for ranged

Ingenious Hunter

  • removed

Jack of All Trades (new rune)

  • Replaces Time Warp Tonic on Row 3
  • Time Warp Tonic moved to Row 2 and replaces Minion Dematerializer
  • For each different stat gained from items, gain one Jack stack – each stack grants 1 AH
  • Gain bonus adaptive force at 5 and 10 stacks.

Legend: Haste

  • Replaces Legend: Tenacity
  • Gain 1.5 Ability Haste for every Legend stack (max 10)

Press the Attack

  • Base damage: 40 – 180 ⇒ 40 – 160
  • Cooldown: 6 seconds after triggering ⇒ 5 seconds out of combat
  • Duration: 6 seconds ⇒ 5 seconds, refreshing in combat

Relentless Hunter

  • No longer grants 5 move speed at 0 stacks

Sudden Impact

  • Cooldown: 4 seconds ⇒ 10 seconds
  • Now deals 20 – 80 bonus true damage with 5 seconds after dashing or leaving stealth instead of hybrid pen

Time Warp Tonic

  • No longer works on biscuits, mana items, or grants 2% move speed
  • Immediate consumption: 30% ⇒ 40%

UPCOMING SKINS

  • Faerie Court Lux – 1350 RP
  • Faerie Court Tristana – 1350 RP
  • Faerie Court Lillia – 1350 RP
  • Faerie Court Soraka – 1350 RP
  • Victorious Kog’Maw – ranked reward

How to Jam in Fortnite?

0

As Fortnite Chapter 5 Season 2 comes to a close, the game is all set to release the new Star Wars Day which will celebrate the Fortnite x Star Wars crossover. Moreover, weekly challenges are unmovable fixtures that offer chances to make XP and Quest Rewards. Week 8 has introduced a new challenge – jamming in two places on the map.

In this article, we will explain how to Jam in Fortnite easily. Keep reading till the end.

How to Jam in Fortnite?

fortnite jam

In Fortnite, jamming is about performing at the jam stage in the Fortnite festival and using player locker jam tracks. This Week 8 challenge involves jamming at Restored Reel’s stage and Slumberyard’s dance floor specifically.

To complete this challenge, follow these steps:

  • Ensure you have Jam Tracks available in your locker. These can be obtained through Battle Pass or Festival Pass rewards, or purchased from the Item Shop.
  • Head into a Fortnite match and land at Restored Reel’s stage and Slumberyard’s dance floor, marked on the map.
  • Once you’re at the designated locations, follow these steps:
    • Open up your Emote wheel.
    • Scroll through the options until you find the Jam Loops category. Select a song and instrument of your choice.
    • Press the Select key to start playing the song. You’ll see your character performing the jam on stage or the dance floor.
  • Repeat the jamming process at both Restored Reel’s stage and Slumberyard’s dance floor to complete the challenge.

Have you completed the challenge? Let us know in the comment section below.

How to Mod Baldur’s Gate 3?

0

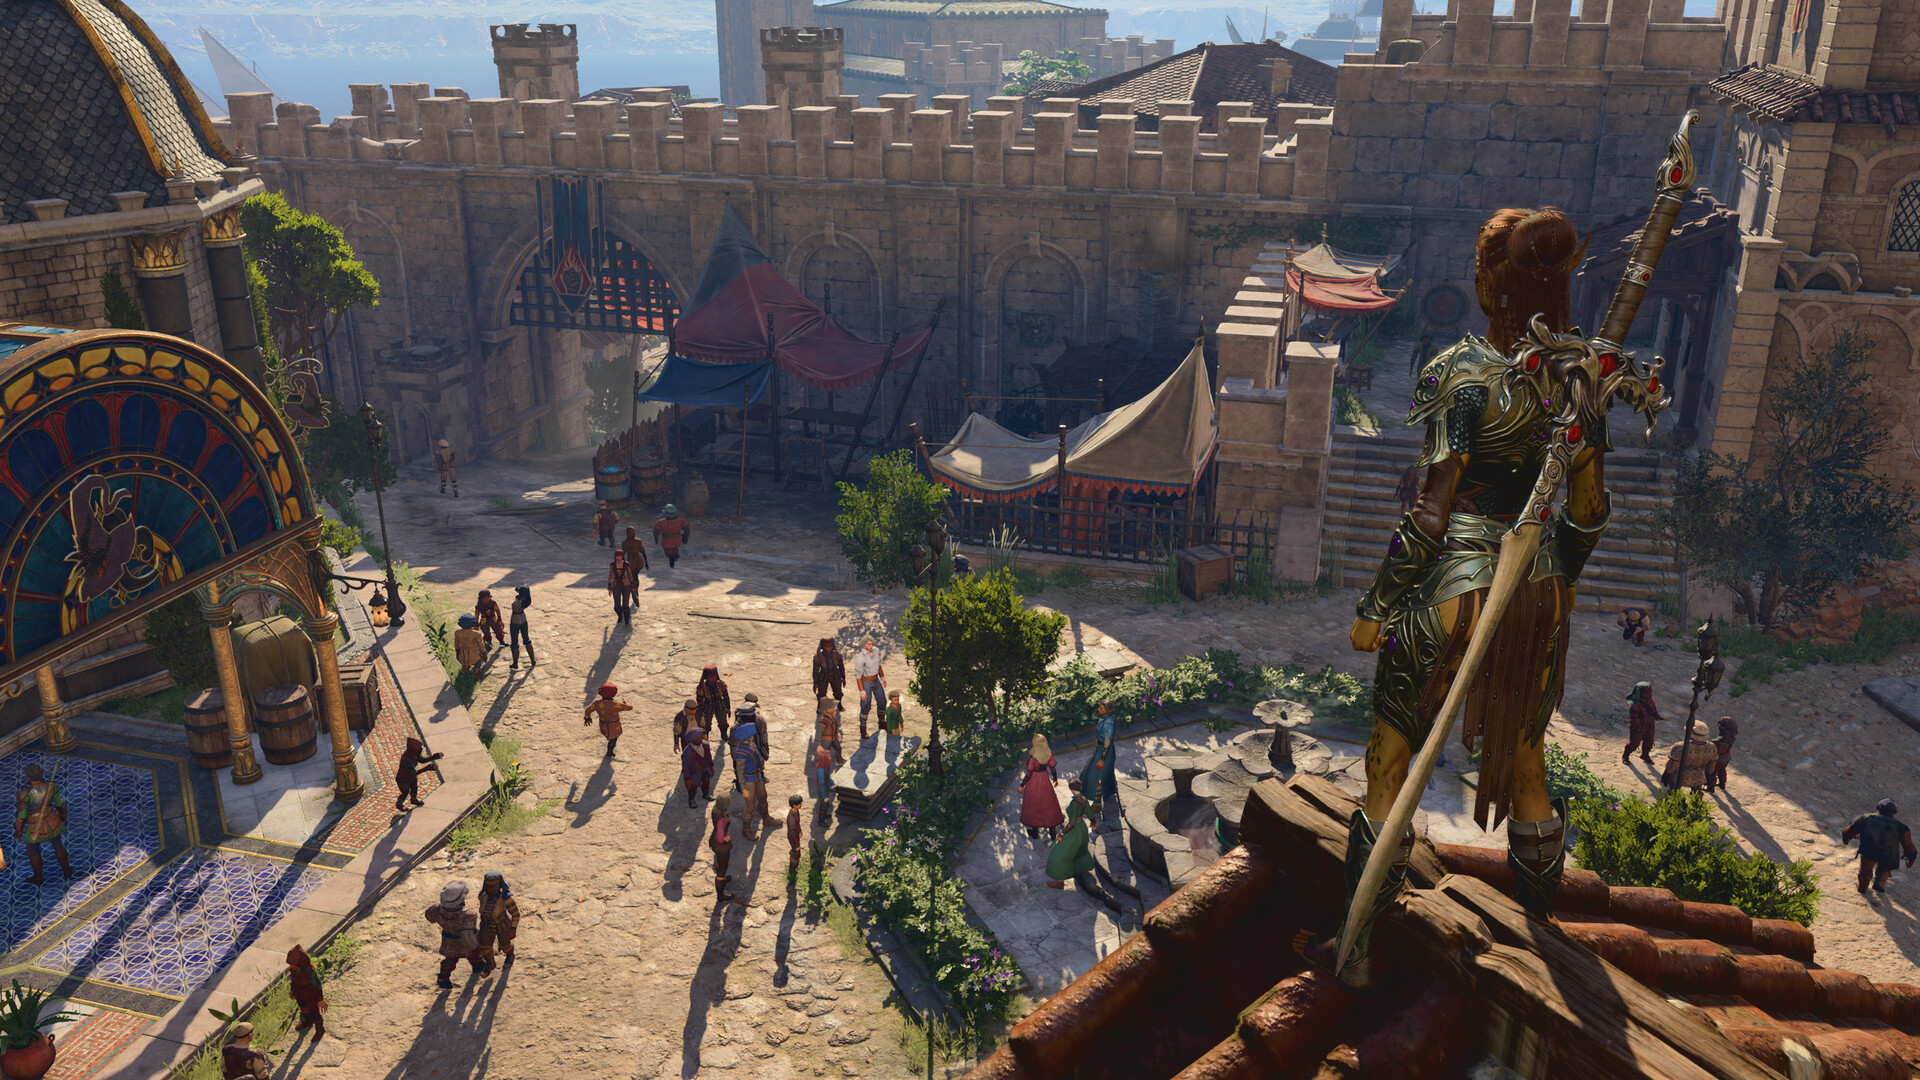
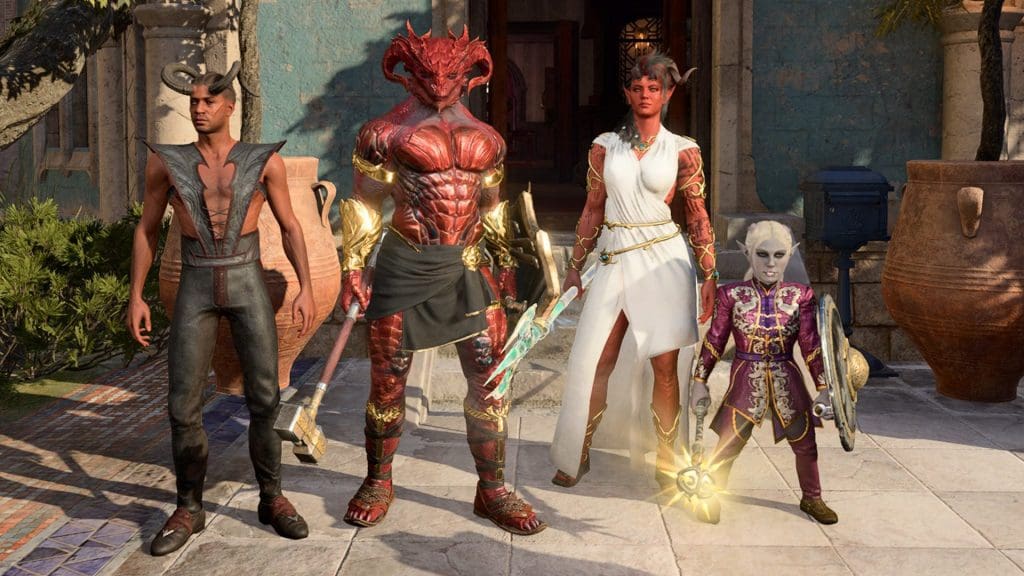
In Baldur’s Gate 3, you can do many things in the game. The community is also constantly creating new mods to improve and introduce new things in the game. In this article, we will get to know how you can mod Baldur’s Gate 3.

Fan-made tool, Baldur’s Gate 3 Mod Manager, has made an easier way for everyone to mod. It looks for any files downloaded by a person automatically and also helps them install such files so they can enjoy their games.

Let’s find out how to mod Baldur’s Gate 3 using the Mod Manager.

How to Mod Baldur’s Gate 3?

Baldur’s Gate 3 mod

Follow the steps mentioned below to successfully mod Baldur’s Gate 3:

  • Visit Nexus Mods or GitHub to download the Baldur’s Gate 3 Mod Manager.
  • Extract the files to a preferred location on your system.
  • Run the Mod Manager.
  • Manually download desired mods from mod websites.
  • Extract the mod files and copy the .pkg file to the game’s mod folder (typically located at C:\Users<username>\AppData\Local\Larian Studios\Baldur’s Gate 3\Mods).
  • Refresh the mod manager until the downloaded mod appears.
  • Drag and drop the mod from the inactive pane to the active pane to activate it.
  • Arrange the load order by priority, following the mod author’s instructions.
  • Press Ctrl+S to save the load order.
  • Then press Ctrl+Shift+G to launch the game from the mod manager.

Are you playing Baldur’s Gate 3 with mod or without mod? Let us know in the comment section below.

Valorant Episode 8 Act 3 Patch Notes: Huge Nerfs To Viper & Cypher

0

Viper and Cypher mains, better brace yourselves for the latest Valorant 8.08 patch notes as it brings some major nerfs to both of these Agents.

Following the buffs to his kit in Valorant patch 7.09, Cypher, the Moroccan Sentinel, has seen a remarkable surge in both pick rates and win rates across professional matches and pubs alike.

Viper has also emerged as one of the most favored Controllers in the professional scene, often becoming a staple pick on open maps such as Breeze and Pearl.

The Valorant Episode 8 Act 3 update aims to diminish the dominance of both Cypher and Viper, opening up opportunities for other Agents to have more relevance on certain maps.

Cypher has received multiple nerfs to his Trips and Spycam, the latter of which emits looping audio to enemies when they are actively being watched. Viper has also experienced a comprehensive nerf to her entire kit, save for her ultimate. The most notable nerf comes in the form of a reduction in her Snakebite charges from 2 to 1.

Valorant Episode 8 Act 3 Patch Notes Revealed

Without further ado, let’s take a look at the detailed patch notes of the Valorant 8.08 update, as officially revealed by Riot Games:

AGENT UPDATES

Chamber

  • We’ve updated Chamber’s voice lines and added interaction lines with Reyna, Astra, and Omen.

Cypher

Since his updates in 7.09, we’ve been excited to see Cypher solidify a stronger spot on the Sentinel roster, but feel it’s pushed his stalling power further than we’d like for an Agent that specializes in global information. Additionally, we’ve seen play patterns around Spycam (E) that lack counterplay for the enemy team.

  • Updates to Cypher’s Trapwire (C) gives enemies more time to deal with it after it has been triggered while the reduction in slow duration provides those caught a slightly better chance to use movement to avoid death.
    • Trapwire (C)
      • Re-arm time increased 1 >>> 2s
      • Slow on Trapwire reduced 2 >>> 1.25s
  • We’ve seen it become common for Cyphers’ to hide Spycams (E) in the playspace and continually watch enemies without them knowing. We’ve added an audio telegraph for enemies who are being watched to provide those who are quietly moving a cue that they are being watched.
    • Spycam (E)
      • Enemies now hear looping audio when they are actively being watched by Cypher from within the Spycam (E).

Viper

As you have continued to improve leveraging Viper’s strengths, she’s grown into a dominant meta force and constant presence in pro play. With this update, we hope to solidify clear weaknesses that Viper has compared to her peers while still maintaining her unique identity as a Controller / Sentinel hybrid. You should feel that Viper has to commit to her positions and manage shorter individual up times per smoke use with her unique ability to control her smoke over time.

  • Reduction in total smoke uptime coupled with reduction in the cooldown of reactivating aim to reduce her total stalling uptime and push you to better manage your fuel. Increasing the minimum fuel to activate her smokes creates a larger window for enemies to attack when her fuel is fully drained.
  • Poison Cloud (Q) only being retrievable in the Buy Phase pushes you to make sharper calls of where you’ll place the ability each round and sharpen her identity of high influence in a highly committed area.
  • Reducing Snake Bite (C) to a single charge reduces how often Viper can use the ability to fill the gaps while her smokes are down and increases the importance of fuel management. The increase in duration ensures that a single Snake Bite (C) charge is lethal to all enemies that are in the acid for its full duration.

We messaged this out on socials but want to call out again that in 7.09 we unintentionally shipped some number changes to Viper’s fuel. For full visibility, you’ll see three numbers in some of the changes listed below: First will be before 7.09, second after 7.09, and the final is the update for 8.08.

  • Toxic Screen (E) and Poison Cloud (Q)
    • Max uptime on each individual smoke source reduced 15 >>> 13.5 >>> 12s
    • Minimum fuel needed to activate smoke increased 20% >>> 30%
    • Cooldown on re-activating smokes after putting them down reduced 8 >>> 5.5 >>> 5s
  • Poison Cloud (Q)
    • Can now only be picked up during the Buy Phase
  • Snake Bite (C)
    • Charges reduced 2 >>> 1
    • Price increased 200 >>> 300
    • Duration increased 5.5 >>> 6.5s

PREMIER UPDATES

A new Stage of Premier starts! With this one, we’re adding promotion.

  • See your division’s promotion requirements on the standings page.
  • Meet those requirements to be placed at least one division higher in Stage E9A1.
  • The Premier Score playoff qualification threshold is 600 for all divisions.

BUG FIXES

  • Agent
    • Fixed issues related to inaccurate line-of-sight checks near certain abilities (e.g., Phoenix’s Blaze (C)). This could manifest in flashes not working appropriately when the detonation was on the other side of a wall that was in the process of raising or lowering.
      • This fix applies to Phoenix’s Blaze (C), Neon’s Fast Lane (C), Harbor’s High Tide (E), and Viper’s Toxic Screen (E) and Viper’s Pit (X).
    • Fixed an issue where AI-controlled abilities (e.g., Killjoy’s Turret (E)) could detect you through Harbor’s High Tide (E).
    • Fixed Clove’s icons being incorrect when Ruse (E) was equipped.
    • Fixed a bug where Cypher’s Trapwire (C) showed on the map even when disabled.
  • Maps
    • Fixed an exploit on Split that allowed Agents to stand on a sign on A Site.
  • Gameplay Systems
    • Fixed an issue where footsteps were not produced when in ADS and when running while slowed by Sage’s Slow Orb (Q) ability.
  • Premier
    • Fixed a bug where practice matches did not lock your division in.

Valorant Episode 8 Act 3 Battle Pass: Skins, Release Date, & More

0

With the highly anticipated Valorant Episode 8 Act 3 update being just around the corner, players of the competitive shooter are excited to see what the new patch will bring to the game. Alongside a revamp to the Premier mode, the new Mystbloom skin collection, and changes to some of the Agents, Episode 8 Act 3 will also introduce a fresh battle pass to Valorant.

Like every other Valorant Battle Pass, the upcoming Episode 8 Act 3 BP will include a bunch of new skin collections, gun buddies, player cards, and other cosmetics that you can use to spice up your Valorant profiles.

In this article, we take a look at everything you need to know about the Valorant Episode 8 Act 3 Battle Pass.

Valorant Episode 8 Act 3 Battle Pass: Skins & Other Cosmetics

The next Valorant Battle Pass will bring with it three new skin collections to the game — Comet collection, Tacti-Series Collection, and the Cloudweaver collection.

The new knife featuring in the Battle Pass is the Comet Melee, which is a green sword that gives off sci-fi vibes.

Alongside these skin bundles, the Episode 8 Act 3 Battle Pass also includes a number of unique gun buddies, player cards, and sprays for the players to enjoy.

Without further ado, let’s check out some of the highlights of the new Valorant Battle Pass:

  Free Track

■ Comet Ghost

■ While It’s Hot Card

■ Maybe Next Time Spray

■ Tacti Kappa Gun Buddy

■ Epilogue: Mini Mecha Gun Buddy

Paid Track

■ Comet Vandal

■ Tacti-Series Guardian

■ Cloudweaver Outlaw

■ Comet Sword

■ On the Edge Card

■ A Charming Outlaw Card

■ Wingman Wiggle Spray

■ Go Team Go Spray

■ Sleepy Bruno Gun Buddy

Valorant Episode 8 Act 3 Battle Pass: Release Date

The Valorant Episode 8 Act 3 Battle Pass drops with the next update on April 30, 2024. Depending on your time zone, you may also receive the update on May 1, 2024.
You can check out the detailed patch notes of the update on the official Riot Games website.