Home Blog Page 1021

How To Play Co-op and PvP in Minecraft Legends

Minecraft series, offering players a comprehensive set of multiplayer options to participate in. Apart from a lengthy campaign mode, Minecraft Legends also boasts an array of PvP and co-op modes for players to engage in real-time battles and collaborative building ventures with others.

Once you are in the main menu of Minecraft Legends, there will be offered a variety of choices to choose from where players can engage in PvP multiplayer which allows for up to eight players to participate at once.

How To Play Co-op and PvP in Minecraft Legends

Co-op (Cooperative) Mode:

  1. Start a new Minecraft game or join an existing world.
  2. Invite your friends to join your game by sharing your game’s IP address or hosting a multiplayer server.
  3. Work together with your friends to build structures, gather resources, and explore the Minecraft world.

PvP (Player versus Player) Mode:

  1. Start a new Minecraft game or join an existing world.
  2. Enable PvP mode by changing the game’s settings or using a mod/plugin.
  3. Engage in combat with other players to eliminate them and become the last player/team standing.

It’s important to note that playing Minecraft in either co-op or PvP mode may require some additional configuration or setup, depending on your chosen version of the game, game mode, or specific mods/plugins being used. It’s recommended to refer to online guides or tutorials specific to your game version or mod/plugin to ensure proper setup and gameplay.

Thank you for taking the time to read our article. To stay up-to-date with the latest news and articles around Gaming and Esports, we kindly recommend following TalkEsport on Google News.

How To Unlock Golem in Minecraft Legends

0

Minecraft Legends is an open-world game with various mounts available for exploration and combat, but one mount that stands out from the rest is the Golem. This guide provides a step-by-step explanation of how to unlock the Golem in Minecraft Legends.

Step 1: Construct Wake the Firsts

To unlock the Golem in Minecraft Legends, the first step is to construct a structure called “Wake the Firsts” at your Well of Fate. This structure is essential for assembling the deconstructed golems that you find in the game.

Step 2: Find Deconstructed Golems

Deconstructed golems can be found by looking for question mark icons on the map. However, not every question mark leads to a golem, so keep searching until you find one. Some question marks may lead to Towers or Bug Mounts, so be careful.

Step 3: Assemble the Golem

Once you have found a deconstructed golem, you can assemble it by selecting the option to do so. However, you will need certain resources such as Iron and Gold to construct these golems, so make sure you have enough resources available. Each golem has its own requirements, so check the map to see what a particular golem needs to awaken them.

Step 4: Control the Golem

After assembling the Golem, you can control it just like any other mount in the game. These giant creatures pack a lot of power, making them ideal for protection or surprising an enemy. If the Golem dies, you can find them at Village Fountains or Beacons to use them again.

Benefits of Using the Golem

There are several benefits to using the Golem as a mount in Minecraft Legends. Here are a few reasons why players seek to unlock this mount:

Protection

The Golem is one of the most robust mounts in the game, making it ideal for protecting the player from enemy attacks. The Golem can take a lot of damage before it dies, which gives players more time to react to any threats.

Combat

The Golem is also an excellent choice for combat. With its significant strength, it can easily take down enemies and protect the player from harm.

Speed

The Golem may not be the fastest mount in the game, but it’s still faster than walking. This makes it an excellent choice for traversing long distances quickly.

FAQs

  1. How rare are deconstructed golems in Minecraft Legends?

Deconstructed golems are not that rare in the game. They can be found by looking for question mark icons on the map.

  1. Can you customize the Golem in Minecraft Legends?

No, the Golem cannot be customized in Minecraft Legends.

  1. Can the Golem be used in water?

Yes, the Golem can be used in water. It is an excellent mount for traversing water quickly.

  1. Is the Golem the strongest mount in Minecraft Legends?

The Golem is one of the strongest mounts in Minecraft Legends, but it’s not the strongest.

  1. Can the Golem be repaired?

Yes, the Golem can be repaired by using the appropriate resources, just like any other mount in the game. Keep in mind that repairing the Golem will require some resources, so make sure to have enough materials available.

  1. Can the Golem jump?

Yes, the Golem can jump, but it may not be as agile as some other mounts in the game.

  1. How long does the Golem last before it dies?

The Golem can last for a while before it dies, but it will depend on how much damage it takes during battles. To keep the Golem alive, make sure to take breaks and let it rest between fights.

  1. Can the Golem be used for mining?

Yes, the Golem can be used for mining in Minecraft Legends. It has a significant amount of strength, making it ideal for breaking blocks quickly.

  1. Is the Golem available in all versions of Minecraft Legends?

Yes, the Golem is available in all versions of Minecraft Legends, so players can unlock and use it regardless of the version they’re playing.

  1. Are there any other mounts in Minecraft Legends that are as powerful as the Golem?

While the Golem is one of the strongest mounts in the game, there are other mounts with unique abilities and strengths that are just as valuable. It’s up to the player to determine which mount best suits their playstyle.

Thank you for taking the time to read our article. To stay up-to-date with the latest news and articles around Gaming and Esports, we kindly recommend following TalkEsport on Google News.
How to Reduce Lag and FPS Drops in Minecraft Legends

0

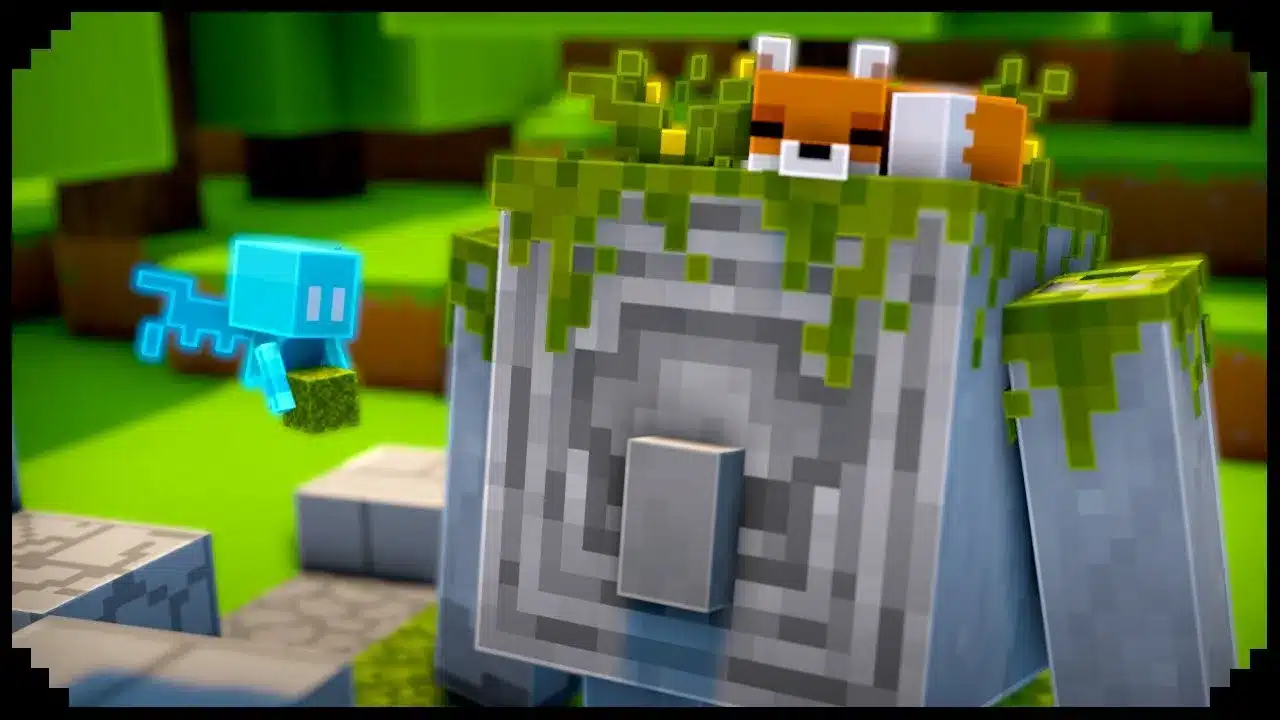
Minecraft Legends has been receiving praise from gamers for its gameplay and visuals, but some players are experiencing lag and FPS drops. These issues can be frustrating and can ruin the overall gaming experience. In this article, we’ll discuss some tips to optimize Minecraft Legends and reduce lag and FPS drops.

How to Optimize Minecraft Legends for a Better Gaming Experience

Lower Graphical Quality

One of the first things you can do to improve your Minecraft Legends experience is to lower the graphical quality of the game. While it may not look as visually stunning as before, it will help improve the game’s overall performance. You can try lowering the following graphical options:

  • Fullscreen Resolution – Try a slightly lower resolution to see if it runs faster
  • Rendering Detail Level – Lower it a step to see if your FPS increases

Wait for a Patch

If the above solution does not work for you, then you can wait for an official patch to fix the issues. The game’s developers are constantly working to improve Minecraft Legends, and they release patches regularly. Keep an eye out for any updates and patches, and make sure to download them to ensure that your game is up-to-date.

Close Unnecessary Programs

If you’re experiencing lag and FPS drops while playing Minecraft Legends, it may be because there are too many programs running in the background. Close any unnecessary programs, such as internet browsers, to free up system resources and improve the game’s performance.

Upgrade Your PC Components

If you’re a die-hard Minecraft Legends fan and want the best possible gaming experience, you can consider upgrading your PC components. Upgrading your graphics card, processor, or RAM can significantly improve your computer’s performance and allow for a smoother gameplay experience.

Thank you for taking the time to read our article. To stay up-to-date with the latest news and articles around Gaming and Esports, we kindly recommend following TalkEsport on Google News.
How to Defend Multiple Villages in Minecraft Legends

0

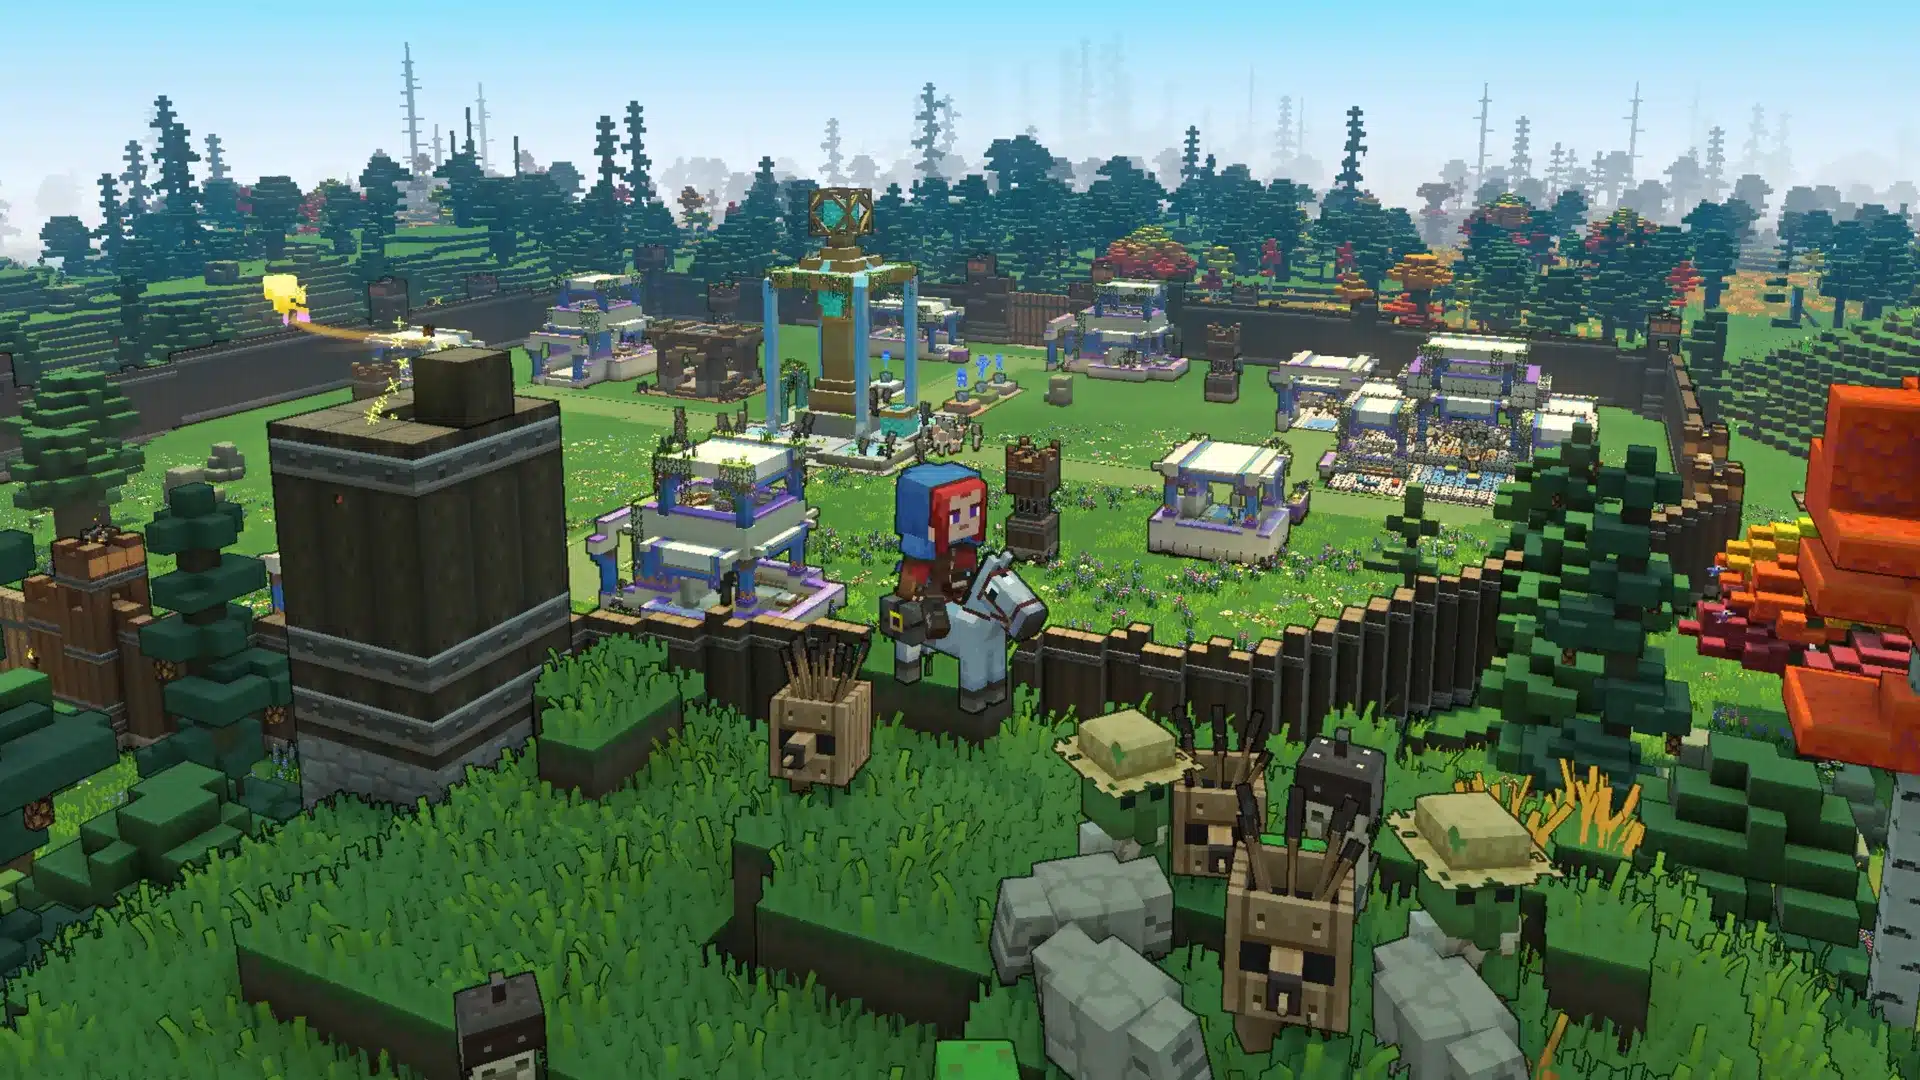
Minecraft Legends is a game that provides players with endless possibilities for exploration, building, and battling. One of the most exciting parts of the game is the nightly Piglin raids, where players defend their villages against hordes of Piglins. However, what happens when you have more than one village to defend? Can you successfully protect them all at once? In this article, we will discuss how to defend multiple villages in Minecraft Legends and ensure that they are self-sufficient.

Building Strong Defenses

To defend multiple villages, you need to build strong defenses. Start by building arrow towers and walls around each village. As you progress in the game, you will unlock more structures like Redstone launchers, protector towers, and traps that can quickly wipe out entire groups of Piglins.

One of the most critical buildings for defense is the masonry, which turns your walls, towers, and gates into stone. Without this, your villages will have weak, wooden buildings that enemies can easily break through. However, you will need a lot of iron for this, so be prepared to spend some time exploring the world for iron ore veins.

Supporting Your Villages

Even with strong defenses in place, you still need to support your villages. Check on them periodically to ensure that the defenses are still intact. The difficulty ramps up, and one small break in defenses can cause the entire system to shut down. Be sure to fast-travel to each village and make sure everything is running smoothly.

As you unlock more buildings, improve your defenses to give your villages even better odds of becoming self-sufficient. There are various support buildings, like the carpenter hut and battle drum, that strengthen your attack towers.

Defending Multiple Villages

With enough defensive structures and regular check-ups, you can protect every village in your world. Each village can become self-sufficient, allowing you to explore the world and target Piglin bases without worrying about the raids. It takes time and effort to get here, but it is worth it.

In Minecraft Legends, defending multiple villages is possible. It all comes down to building strong defenses, supporting your villages, and continuously improving your defenses. As you protect your villages and explore the world, you will unlock new structures and weapons that make the game even more exciting. So, get building and defending, and save the world from the Piglin hordes!

Thank you for taking the time to read our article. To stay up-to-date with the latest news and articles around Gaming and Esports, we kindly recommend following TalkEsport on Google News.
How Many People Can Play Minecraft Legends

0

Minecraft Legends is a popular video game with a variety of gameplay modes, including the versus mode, where players can test their skills against others. One question that frequently arises is how many players can participate in Minecraft Legends’ PvP mode. In this article, we’ll explore the factors that impact versus gameplay mode and answer that question.

Minecraft Legends PvP Modes

Minecraft Legends features several gameplay modes, including versus mode. In this mode, players are randomly placed on different maps and fight against or cooperate with other players depending on the match type. The resources players collect and bases they build also vary depending on the type of match.

Factors to Consider in Minecraft Legends PvP

There are several unique factors to consider in Minecraft Legends’ versus mode. One of the most critical factors is the number of players in a match, which significantly impacts the pace and complexity of the match. A smaller match is slower-paced, while a larger match requires careful coordination and awareness of multiple enemies.

How Many Players Can Participate in a PvP Match in Minecraft Legends?

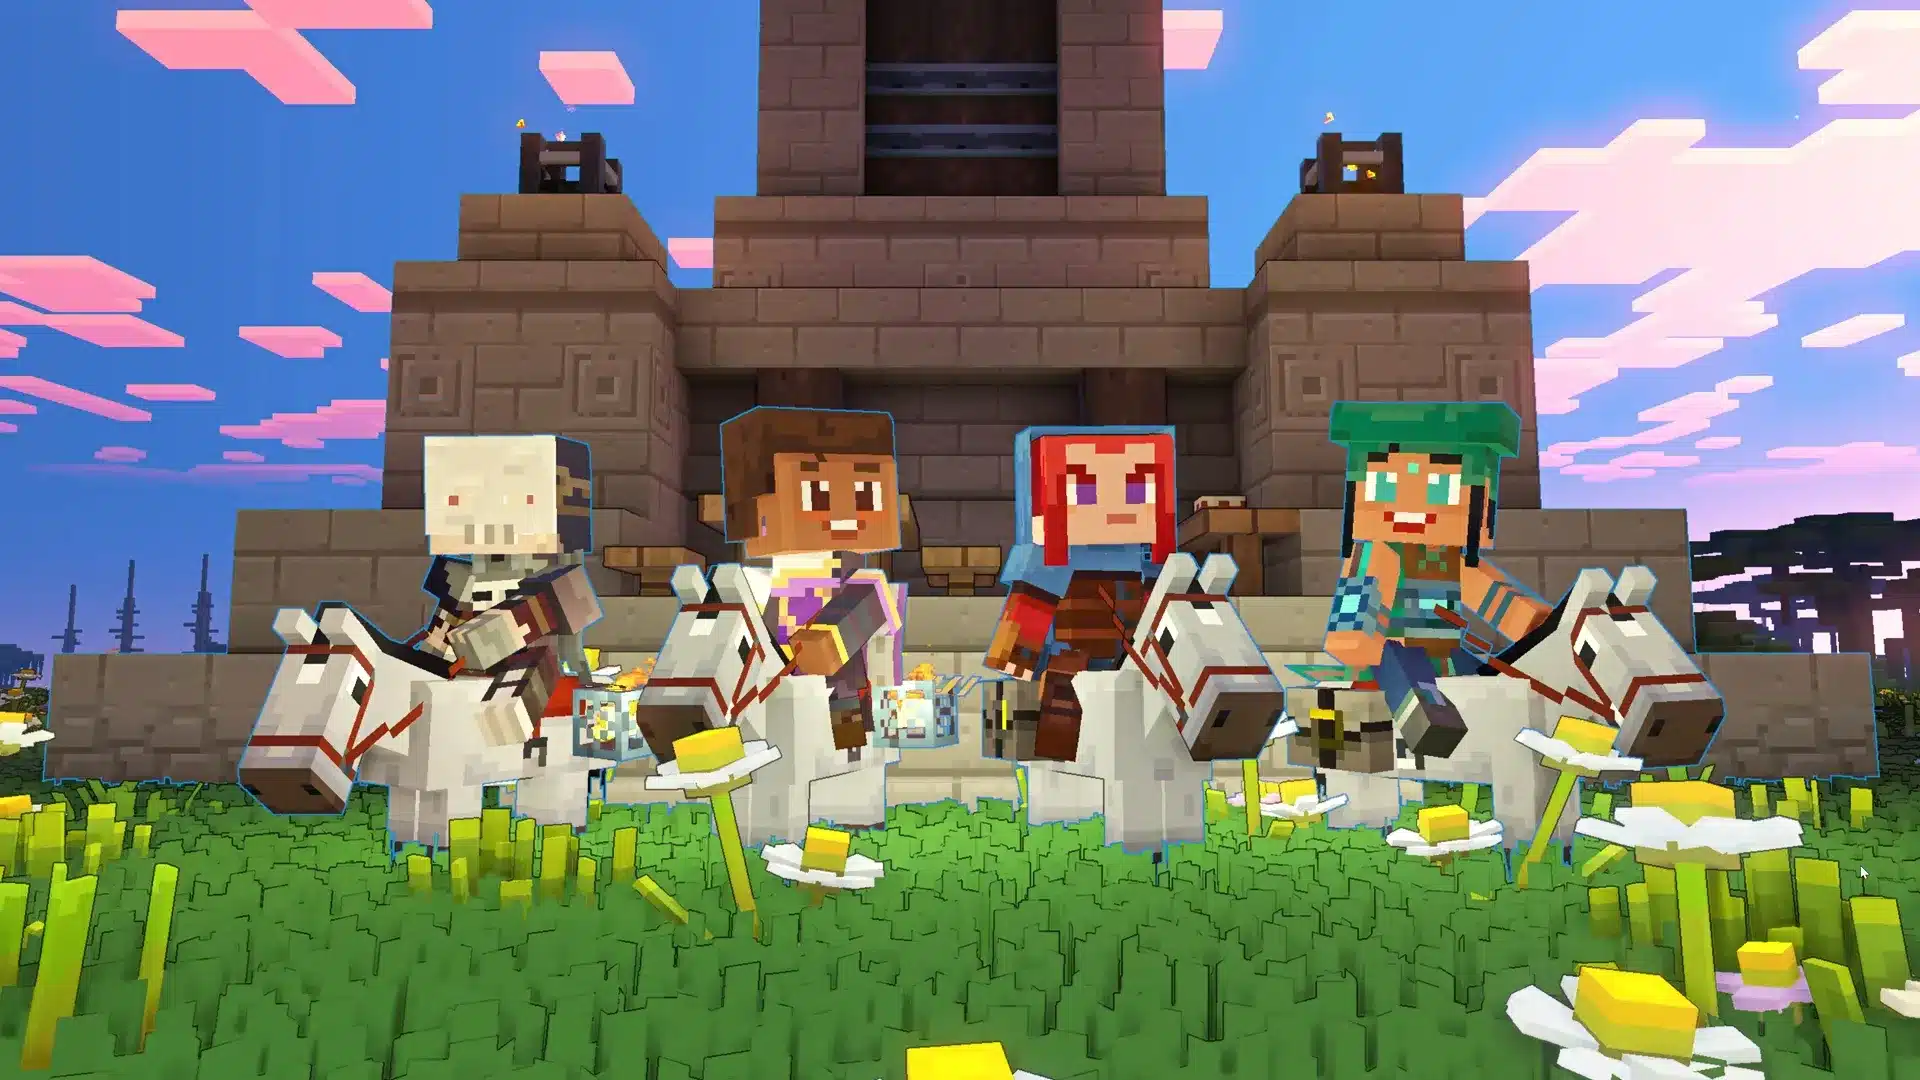
The number of players in a PvP match in Minecraft Legends varies depending on the match type. Players can participate in a PvP match with anywhere from two to eight players, depending on whether they join or create a match.

How Many Players Can Play in a Public Versus Mode Game in Minecraft Legends?

If players select a public versus match, they will typically play a three-vs-three match with six players or a four-vs-four match with eight players. When playing a public PvP game in Minecraft Legends by selecting the “join game” option, the match will not start until there are six players in the queue, making a three-vs-three match the minimum for public matchmaking.

Even when players start a match through the host page, a three-vs-three battle remains the minimum. However, players can add their friends to the game before opening it up to the public, which has some benefits. Regardless of how players start a public match, they will never be able to play with fewer than six players.

How Many Players Can Play in a Private Versus Mode Game in Minecraft Legends?

The private version of the versus gameplay mode offers players more flexibility in terms of the number of players, from a one-vs-one match with two players to a four-vs-four match with eight players. However, the private gameplay mode is exclusively available to friends or players players invite. This means that matchmaking cannot be used to find more players, and players can only play with those they specifically invite or those who join from their list of friends.

Regardless of the number of players, the primary objective of Minecraft Legends’ versus gameplay mode is to defend your base and take out your opponents. The mode is complex and requires players to strategize carefully when building their base and attempting to take down other players. A versus round can last a surprisingly short or long time, depending on the number of players and their approach. Nevertheless, versus mode remains one of Minecraft Legends’ most replayable features, as every match looks different from the last.

FAQs

Q1. How many players can participate in Minecraft Legends’ versus gameplay mode?

A1. The number of players in a match varies depending on the match type. Players can participate in a PvP match with anywhere from two to eight players.

Q2. Can players play a PvP match alone in Minecraft Legends?

A2. Yes, players can play a one-vs-one match with just two players in the private version of the versus gameplay mode.

Q3. Can players add friends to a public versus match in Minecraft Legends?

A3. No, players cannot add friends to a public versus match. They can only add friends to a private versus match.

Q4. How many players are required to start a public versus match in Minecraft Legends?

A4. A public versus match in Minecraft Legends requires at least six players before the match can start. Players can join the queue for the match, and the game will begin once six players are ready.

Q5. What are the benefits of creating a private versus match in Minecraft Legends?

A5. Creating a private versus match in Minecraft Legends allows players to have more control over the number of players in the match and who they play with. Additionally, private matches can be more organized, and players can communicate more effectively with their teammates.

Thank you for taking the time to read our article. To stay up-to-date with the latest news and articles around Gaming and Esports, we kindly recommend following TalkEsport on Google News.

How To Turn Off Narrator In Minecraft 2023

0

Minecraft Legends is a popular game that offers a great experience to players. The game has a feature called text-to-speech, which helps players get through menus in-game. However, for those who don’t want it, this voiceover can be a nuisance. In this article, we will show you how to turn off the text-to-speech narrator in Minecraft Legends.

To turn off the text-to-speech narrator in Minecraft In 2023, follow these simple steps:

  • Step 1: Launch Minecraft Legends and go to Settings.
  • Step 2: Click on the Accessibility tab.
  • Step 3: Under the Text section, turn off the ‘text-to-speech’ option.

The above steps will disable the narrator, and you can now enjoy the game without any distractions.

FAQ

  1. Can I turn off the text-to-speech narrator on consoles?

Yes, you can turn off the text-to-speech narrator on consoles such as Xbox and PlayStation. The process is similar to the one outlined in this article.

  1. Does turning off the text-to-speech narrator affect other accessibility features?

No, turning off the text-to-speech narrator only affects that particular feature. Other accessibility features, such as closed captions and subtitles, will still work as usual.

  1. Will turning off the text-to-speech narrator affect my gameplay?

No, turning off the text-to-speech narrator will not affect your gameplay. It only affects the voiceover that reads out the text in the menus.

  1. Can I customize the text-to-speech narrator?

No, you cannot customize the text-to-speech narrator in Minecraft Legends. The voice and speed are preset and cannot be changed.

  1. What other accessibility features are available in Minecraft Legends?

Minecraft Legends offers several accessibility features, including closed captions, subtitles, and colorblind settings. You can access these features in the Accessibility tab in the Settings menu.

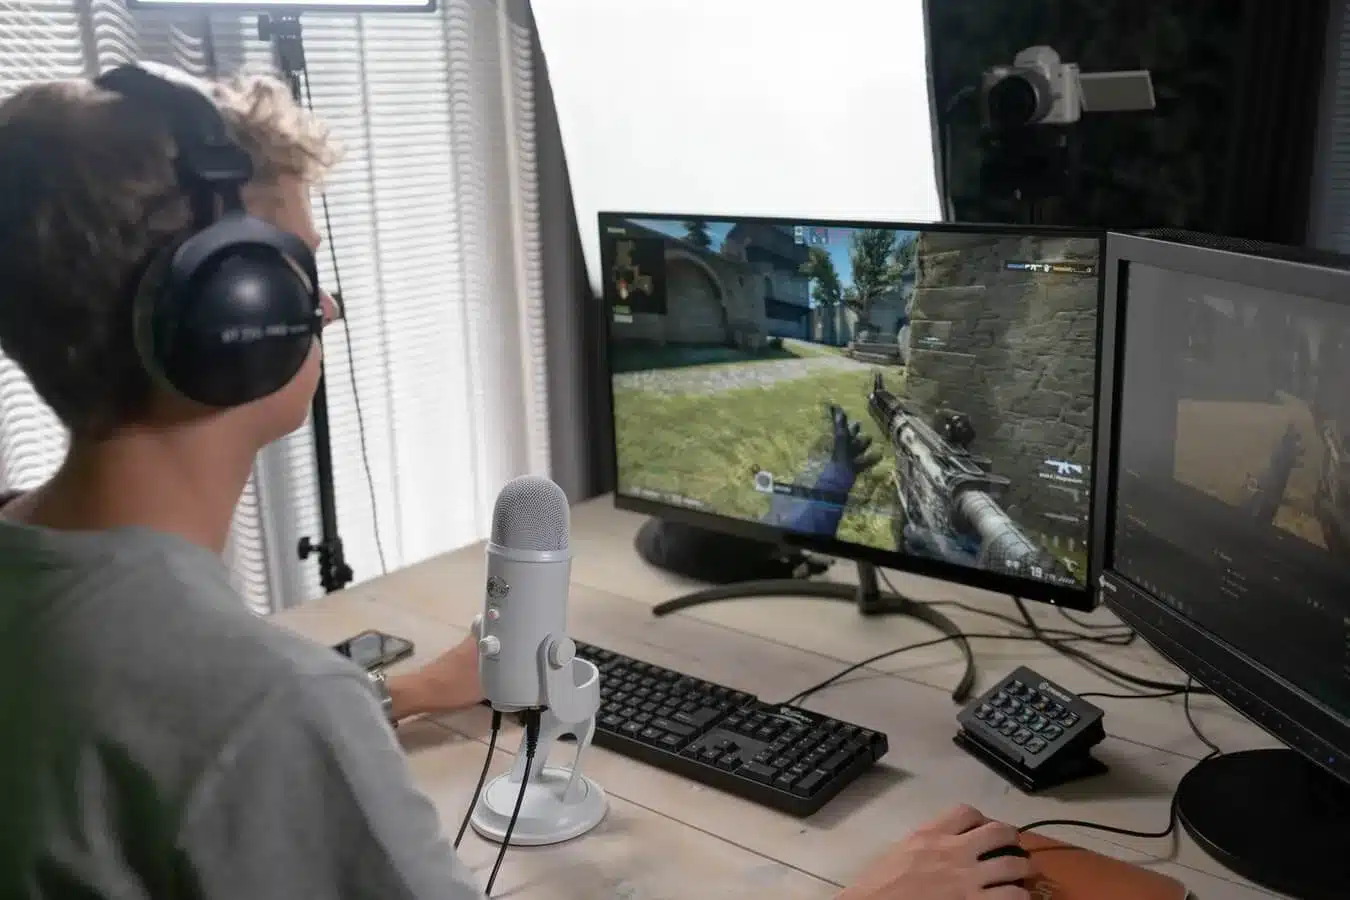
How To Start streaming CSGO In 2023?

Counter Strike: Global Offensive has always been the most-watched game on Twitch. Streaming is indeed a fun and easy way to connect with the community and other streamers who share the same space. 

Streaming has become a popular activity among gamers and for good reason. It’s a great way to showcase your skills, build a community, and potentially even earn money. If you’re a fan of CS:GO and are considering starting your own stream, here are some steps to get you started.

On average, a plethora of players turn their heads to streaming CS:GO once they have gotten familiar enough with the same and have climbed up the ladder. 

Picking Your Best Streaming Gear

Before you get down to streaming, you might need the proper setup to begin streaming Counter-Strike: Global Offensive. High-end, Quality gear will set the best bitrate for CS:GO when you stream it to your audience on either Twitch or YouTube. 

Choosing the right hardware for streaming CS:GO is important if you don’t want your audience to have to deal with slide shows, low-poly images, or pixeling. Personal computer, webcam, microphone/headset, and a seamless Internet connection.

Know your hardware before you hop onto streaming

CS:GO can be played on relatively underpowered PCs, but if you want to stream it and have a good frame rate, you’ll need at least an Intel Core i5 or a Quad Core Processor, 8 GB of RAM, an Nvidia GeForce 1660 or 3050 Graphics Card, and a solid-state drive. If you want to play at a higher resolution than 1920*1080, you may want to consider upgrading your hardware which would perhaps add up to your shopping cart.

Best Webcams available in the Market

Setting up a webcam can be totally optional only if you wish to show/reveal your appearance on the screen. Your reactions after every situation might be visible to the audience once you’ve enabled a webcam on your stream.  

We at TalkEsport recommend using a webcam capable of streaming at least 720p, while there are more options available. In most cases, this will be a webcam from the Logitech HD list or a Razer Kiyo.

Microphones for Streaming 

If you want crisp, clean sound, you would need to get yourself a high-quality microphone. If you don’t want to risk the ire of your teammates and the viewers, don’t use the microphone that is included with your computer or webcam. If you’re just starting out with streaming, the microphone that comes with your gaming headset should suffice. 

Seamless Internet Connection as discussed 

A reliable and swift Internet connection is necessary for streaming. How quickly does your Internet need to be for secure streaming? Ten megabits per second is more than fast enough for 1080p streaming. However, you’ll need an upload speed of at least 30 Mbps to watch 4K content online.

Setting Up OBS for CS:GO

What does OBS exactly entail? Open Broadcaster Software Studio is widely used by streamers of all genres, including those who broadcast Counter-Strike: Global Offensive. Here is how to Stream Counter-Strike: Global Offensive with OBS.

Get OBS Studio going by downloading and installing it from the company’s official website. Upon initial launch, a configuration wizard will be presented for automatic setup. It’s a simple method of establishing a reliable streaming environment. The OBS quickstart guide can be consulted for additional data.

You can stream CS:GO in trusted mode if you like, but it’s up to you. You can go one of two ways:

Select Screen Capture as the primary Source if you wish to play CS:GO in trusted mode without giving your spectators a black screen. Be aware that anything that shows on your screen when you use alt-tabbing will be visible to your audience.

Use Game Capture as your Source if you’re fine with playing CS:GO in standard mode. Right-click Counter-Strike: Global Offensive in your Steam library, select Properties, and then enter “-allow_third_party_software” in the Launch Options box before launching the game.

CS:GO Streaming FAQ

  1. What is Streamer mode?
    • Streamer mode could refer to a number of different configurations. You can prevent the display of other players’ avatars, prevent the display of their names, and prevent all communication with players outside of your party. This can help you avoid an inadvertent ban from Twitch or YouTube and is especially helpful against trolls who try to disrupt your streams.
  2. Why doesn’t OBS record CS:GO?
    • In order to use OBS Studio’s Game Capture feature, you must be playing Counter-Strike: Global Offensive in Trusted mode.

Thank you for taking the time to read our article. To stay up-to-date with the latest news and articles around Gaming and Esports, we kindly recommend following TalkEsport on Google News.
VCL SA: Aster Army Wins Over Reckoning Again

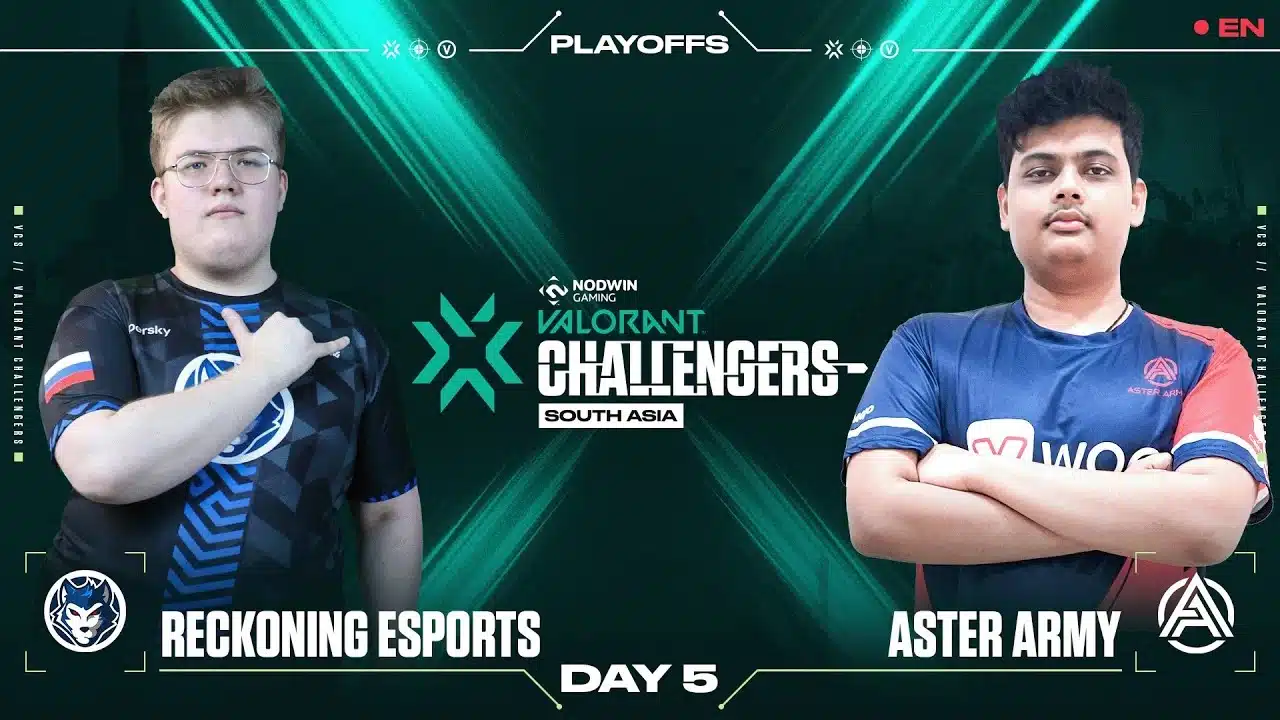
Aster Army striked again as they took down Reckoning Esports, again. This time Reckoning fought back and managed to get one map, but that was it. Aster Army managed to win 2-1 and send Reckoning out of the tournament.

Reckoning Esports Roster and Lineup

Reckoning Esports had a talented lineup of Harsh “Harshhh” Arora as IGL, Saksham “Deadly10” Aurangabadkar, Varun “Mast3r” Menon, Daniil “flabben” Merzlyakov and Aleksandr “hvoya” Eremin.

Aster Army Roster and Lineup

The Aster Army roster consists of Hrishikesh “DominiK” Khedkar as IGL, Soumyadeep “DOXZ3R” Dey, Ngô “Kishi” Huy, Pranav “Kohliii” Kohli, Lee “Wink” Zhen Yong and Sami “SSSami” Ar Rahman (Sub).

Map Veto and Selection

Aster Army banned Fracture and Reckoning Esports banned Split. Aster went on to select Ascent and Reckoning selected Lotus. Pearl and Icebox were banned, making the final map Haven.

Map Recap

AA started off by winning the pistol on Ascent, owing to Dominik’s triple kills. The anti-eco round was close as it ended at a 1v1 won by the side of AA, dropping their economy for the next round. AA bought in the 3rd rounds, which paid them off well as they went on to win it, again owing to Dominik’s quad kills. AA led 8-0 until RGE got 4 rounds to get the half at 8-4.

RGE continued their momentum into the second half by winning the pistol round as well as the anti-eco round. They lost the bonus and the next round as well. In Round 19, RGE clutched an insane 2v5 situation with Deadly10 getting 4 kills on 1 HP. In Round 22, Deadly delivered a triple kill to equalize the score at 11-11. Even though RGE was 4-8 down, they managed to perform a comeback as they proceeded to equalize the score and bring it to overtime.

AA got the first overtime round as Wink got a quad kill in Round 25. RGE brought the match back to overtime as Master got a triple kill in Round 26. AA proceeded to win the match 16-14, even after the wonderful comeback by RGE.

On Lotus, AA continued to carry their momentum forward from the last map by winning the pistol round but RGE manage to convert their eco round into a win, as Harshhh manages to take a triple kill with a dropped Phantom. Harshhh gets another 3k in round 3 as well. After leading 4-1, RGE and AA have a to-and-fro win-loss, finishing the half at 7-5.

RGE won the second pistol, all thanks to Harshhh’s 3k. Flabben got a triple kill as well on their anti-eco round. RGE finished the map at the score at 13-6, only dropping 1 round in their attacking side. Flabben was the map MVP as he had an ACS of 318. 

Haven started with RGE winning the pistol round as Master got a triple kill. AA decided to force their buy to the next round and this worked for them as they won the second round. AA managed to continue their momentum by leading 4-1. In Round 6, Hvoya got RGE a thrifty win as he got a triple kill on his sheriff and one on Vandal. Round 11 saw some amazing Operator shots by Deadly10 as he got a triple kill. AA closed the half at 8-4 with Dominik’s 3k. 

RGE won the pistol with Deadly10’s 4k on Ghost. Harsh got a 3k on the anti-eco round. RGE lost the bonus round, followed by 3 more consecutive rounds, AA leading 12-6. Deadly10 got a quad kill in Round 19, making the score 7-12. After bringing the score up to 9-12, AA closed the map with a thrifty win as Kishi got a triple kill in Round 22.

Even though RGE lost, Deadly10 took away the MVP title with a whopping KDA of 73/46/ 17 in three maps.

With this Reckoning Esports became the first team to exit the Playoffs of VCL SA Split 1.

Aster Army will now play against the winners of the match between God’s Reign and Velocity Gaming.

Thank you for taking the time to read our article. To stay up-to-date with the latest news and articles around Gaming and Esports, we kindly recommend following TalkEsport on Google News.
Steam: How to Fix “We Were Unable To Contact The Game’s Item Server”?

0

At times, the “We Were Unable To Contact The Game’s Item Server” error can be frustrating for players when attempting to buy or sell in-game items, such as skins or chests, through the community market. Are you facing this issue as well? This article will help you to fix the issue. Keep reading till the end!

How to Fix “We Were Unable To Contact The Game’s Item Server”?

The “We Were Unable To Contact The Game’s Item Server” error is typically encountered when players attempt to access the Steam community market to buy or trade items. This error message can occur due to heavy server traffic or issues with the player’s internet connection that prevent communication with Valve’s servers.

To resolve this issue, players can try the following steps:

  • Restarting your system can often solve problems related to internet connectivity or issues caused by Anti Virus or Firewall software blocking access to Steam’s server. This is a simple and effective solution to try before attempting more complex troubleshooting steps.
  • If the issue is localized to a particular server or region, switching to a different download region in Steam may help. To do this, go to the Download section in Steam settings and select a region closer to your geographic location. This may improve connectivity and reduce the likelihood of encountering the “We Were Unable To Contact The Game’s Item Server” error.
  • Third-party software, such as Anti Virus, Firewalls, and VPNs, may sometimes interfere with connectivity to Steam servers and cause errors. To determine if this is the issue, try temporarily disabling the software and check if the problem is resolved. If the issue is resolved after disabling the software, consider adjusting the settings to allow Steam to connect properly while the software remains enabled.
  • If the “We Were Unable To Contact The Game’s Item Server” error is limited to a particular computer, it is likely related to the internet connection. Resetting the network settings may help resolve the issue.
  • If the Steam servers are experiencing heavy traffic or undergoing maintenance, errors may occur when attempting to access certain features or services. Click here to check out the live status of Steam.

Thank you for taking the time to read our article. To stay up-to-date with the latest news and articles around Gaming and Esports, we kindly recommend following TalkEsport on Google News.

CSGO: How To Fix “Inventory Not Available At This Time”?

0

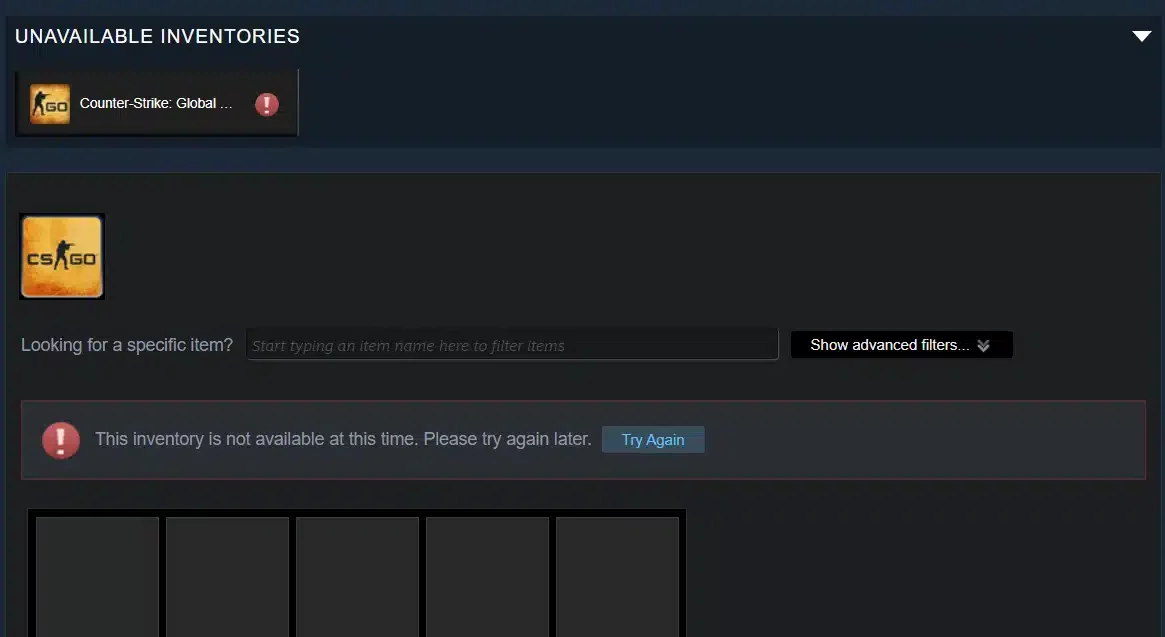
These days, when CSGO players attempt to access their inventory in the game, sometimes an error message that reads “Inventory Not Available At This Time” may appear. It means that the player’s inventory data cannot be retrieved because the game is unable to establish a connection with the inventory server.

Have you also faced the issue? In this article, we will discuss how to fix the “Inventory Not Available At This Time” issue on CSGO.

How To Fix “Inventory Not Available At This Time”?

The servers of Counter Strike-2 have been flooded with high traffic, likely due to the recent buzz around the game. As a result, players attempting to sell or trade items from their inventory are experiencing significant frustration due to overloaded servers.

Although a workaround has been suggested, Steam has not yet addressed the underlying issue. It is possible that the error may recur, despite following the suggested workaround. Nonetheless, it is advisable to attempt the workaround rather than waiting for Valve to release an update, so that players can resume surfing the inventories.

Additionally, a GitHub user has developed a web extension that can bypass the inventory error. To use this extension, visit the GitHub page and download the file onto your computer by selecting the Download Zip option after clicking on the Code button.

After that, extract the downloaded file to a convenient location, such as your Desktop. Then, open Google Chrome on your computer and enter chrome://extensions in the search bar. Alternatively, you can access the extensions page by clicking on the three-dot menu and selecting More Tools and Extensions. Turn on the developer mode toggle in the right corner and select Load Unpacked on the top left.

Next, navigate to the folder where you unzipped the rar file and select fixCSGOInventory.xpi by opening the “fixcsgoinventory” folder. Set the toggle of the Fix CS Go Inventory extension to ON. Finally, log in to your Steam account in Chrome and try to access your CS: GO inventory. This should resolve the issue, and your inventory should function as normal.

It is worth noting that while the extension allows you to view your inventory items, you may still encounter difficulties when trading or selling items if the server is experiencing high traffic or undergoing maintenance.

Thank you for taking the time to read our article. To stay up-to-date with the latest news and articles around Gaming and Esports, we kindly recommend following TalkEsport on Google News.