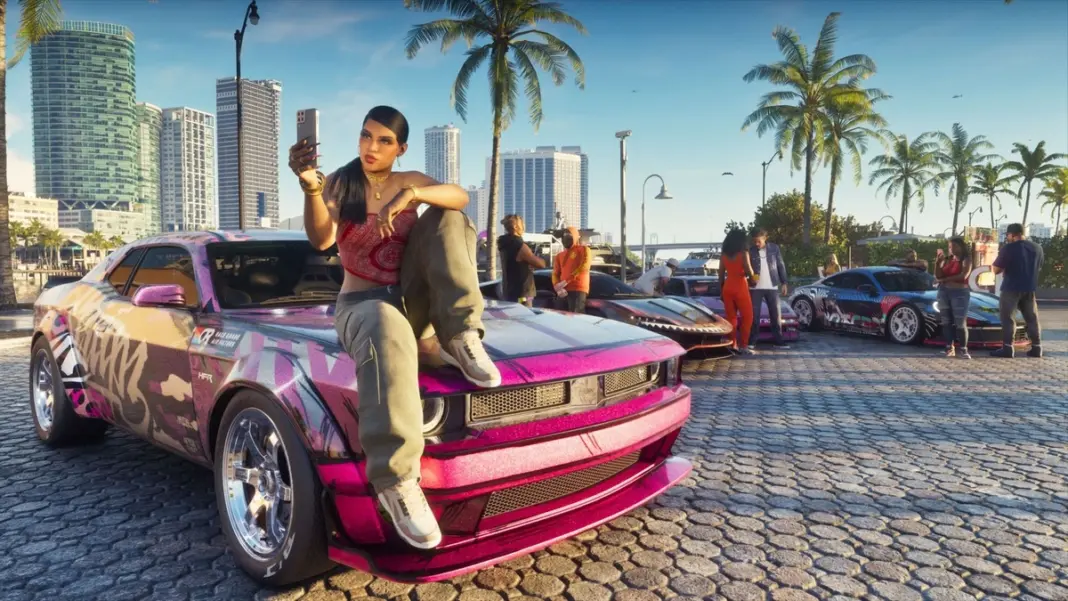
Grand Theft Auto VI gives players two ways to capture Leonida: a camera app on Jason and Lucia’s in game phones and a full photo mode in the pause menu. The phone camera handles quick shots and selfies with poses and expressions, while photo mode offers detailed controls for lighting, focus and effects.
Neither tool is available from the first second of the game. Photo mode opens up during Lucia’s prologue, and the phone camera follows shortly after, once players take control of Jason.
How to use the phone camera in GTA 6
The phone camera unlocks after Lucia’s prologue, when the story switches to Jason. The camera app sits on the phone’s home screen alongside apps such as Messages and Scooter Bros.
- Press Up on the D-Pad to bring up the phone
- Open Camera, the third icon in the first row
- Frame your shot with the rear camera, which is selected by default
- Use Zoom, Filter or Light to adjust the image
- Select Take Photo to capture it
The rear camera includes a flash toggle, a 3×3 grid, zoom up to 5x and up to 17 filters. Photos can be viewed afterwards through the Gallery option inside the camera app.
How to take selfies in GTA 6
Players switch to selfie mode by choosing the Selfie option in the camera app, which flips the view to the front camera. The selfie view adds three new controls on top of the photo and flash buttons.
- Pose: up to six poses for Jason
- Expression: up to seven facial expressions for Jason
- Partner Pose: a pose option for selfies with a partner in frame
Choosing Rear Camera switches the view back to normal photos. Jason and Lucia have separate phones, and the number of poses and expressions confirmed so far applies to Jason.
How to change filters in GTA 6
Filters are applied before a photo is taken. In the rear camera, players open the Filter option and cycle through up to 17 looks, then take the shot with the filter in place. Photo mode has its own set of 17 cosmetic filters under its Overlays menu, which can be combined with a vignette and colour isolation.
How to use GTA 6 photo mode
Photo mode is available from the moment players control Lucia in the prologue. Players pause the game with the Options button on PS5 or the Menu button on Xbox Series X|S, then enter photo mode from the pause menu.
- Camera: speed, grid, roll, eight aspect ratios, field of view up to 48.5 degrees, depth of field, aperture, focus distance, focus guide and an option to hide Jason or Lucia
- Effects: exposure, contrast, highlights, shadows, saturation, sharpness, grain, temperature, tint, gamma, lens flare, bloom and chromatic aberration
- Lighting: up to five extra light sources
- Overlays: gameplay effects, 17 filters, vignette and colour isolation
Players setting up the rest of their game can also read how to change the weapon crosshair in GTA 6 and how to play music on your phone in GTA 6. Leonida’s animals make good photo subjects, and our GTA 6 wildlife guide lists where to find them, while the GTA 6 chapters and missions list covers the full story. Rockstar shares official screenshots on its Grand Theft Auto VI page.